How to photograph bees
-
-
Written by Alan Adler
In this article, guest contributor Alan Adler shows how to take great photos of bees without dedicated macro gear or even leaving your home. Alan is best-known as the inventor of the Aerobie Flying Ring and the legendary Aeropress, a device I use daily for brewing at home or on the move, but he’s also a passionate photographer.
Following my Aeropress tutorial, Alan got in touch and we formed a friendship over our shared love of coffee and cameras. His own journey from large format film in the Seventies to compact mirrorless cameras today is a fascinating one, and when he described his approach to photographing bees in his garden I knew it would make for an interesting piece. I’d initially expected high-end macro lenses and full-frame bodies but was delighted to discover his go-to gear is based on much more affordable APSC bodies and lenses. Better still, the subjects can often be found very close to home, making them ideal for socially distant shooting.
Bees – The Perfect Wildlife Subject for Covid Days
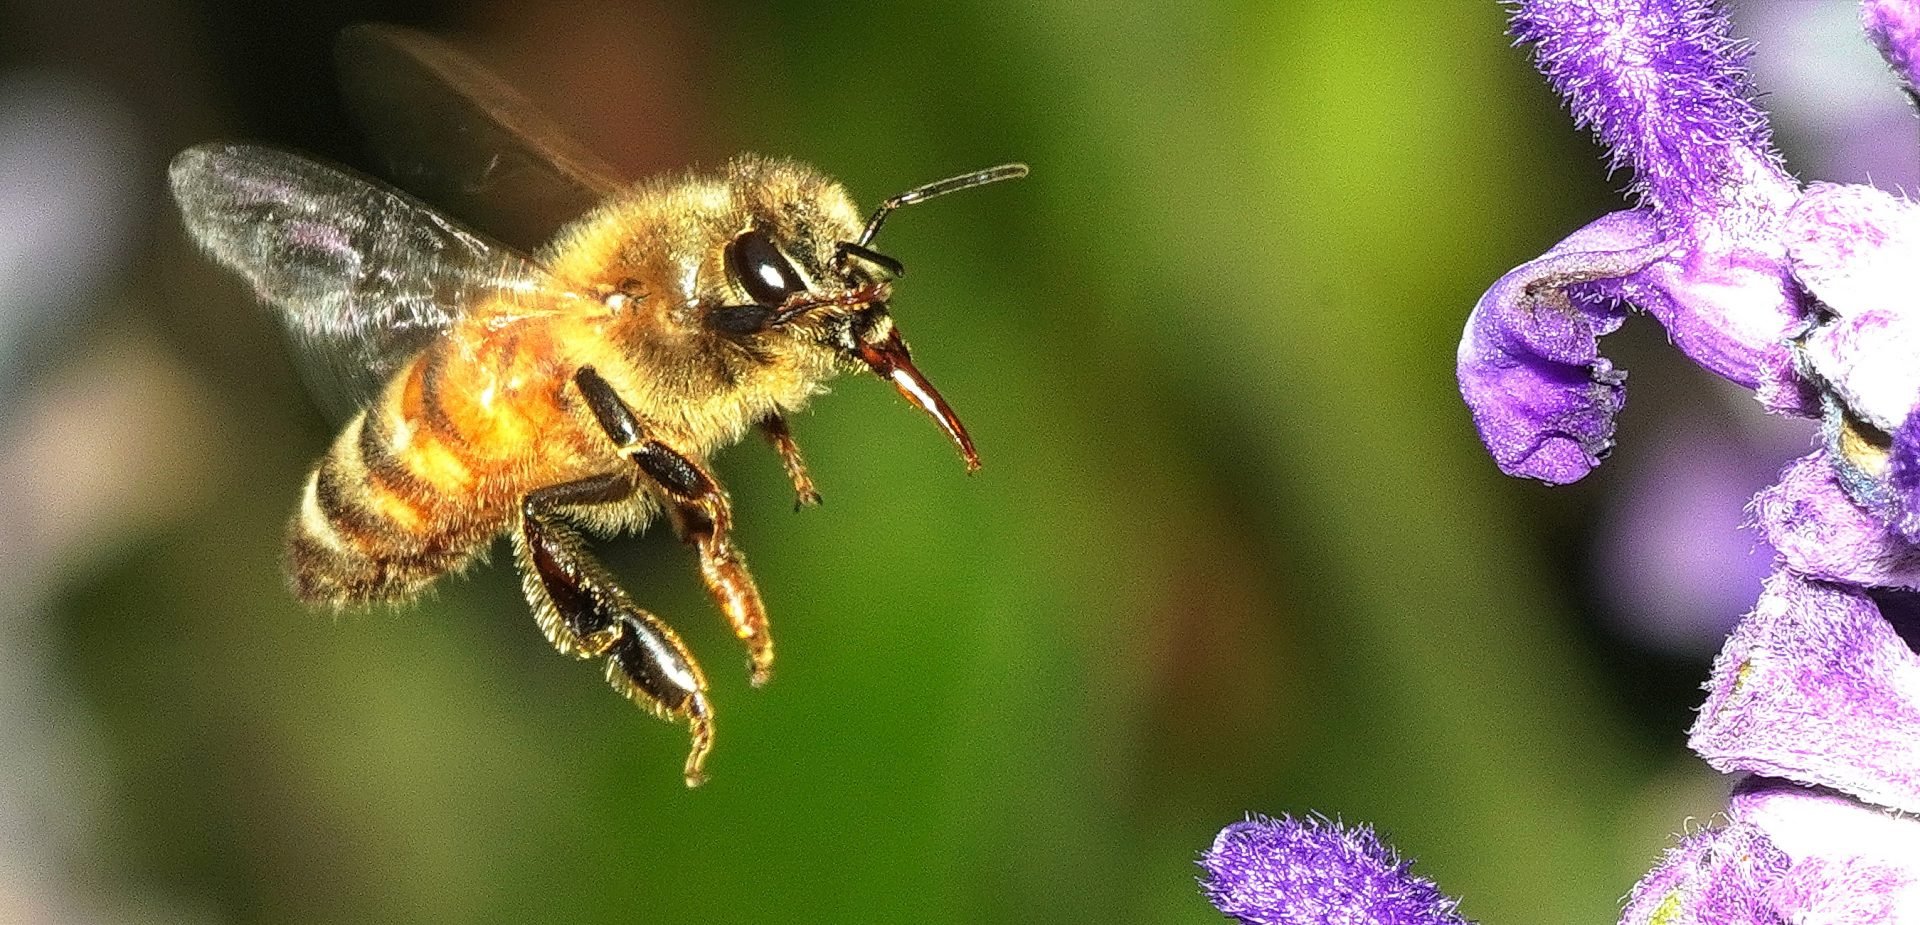
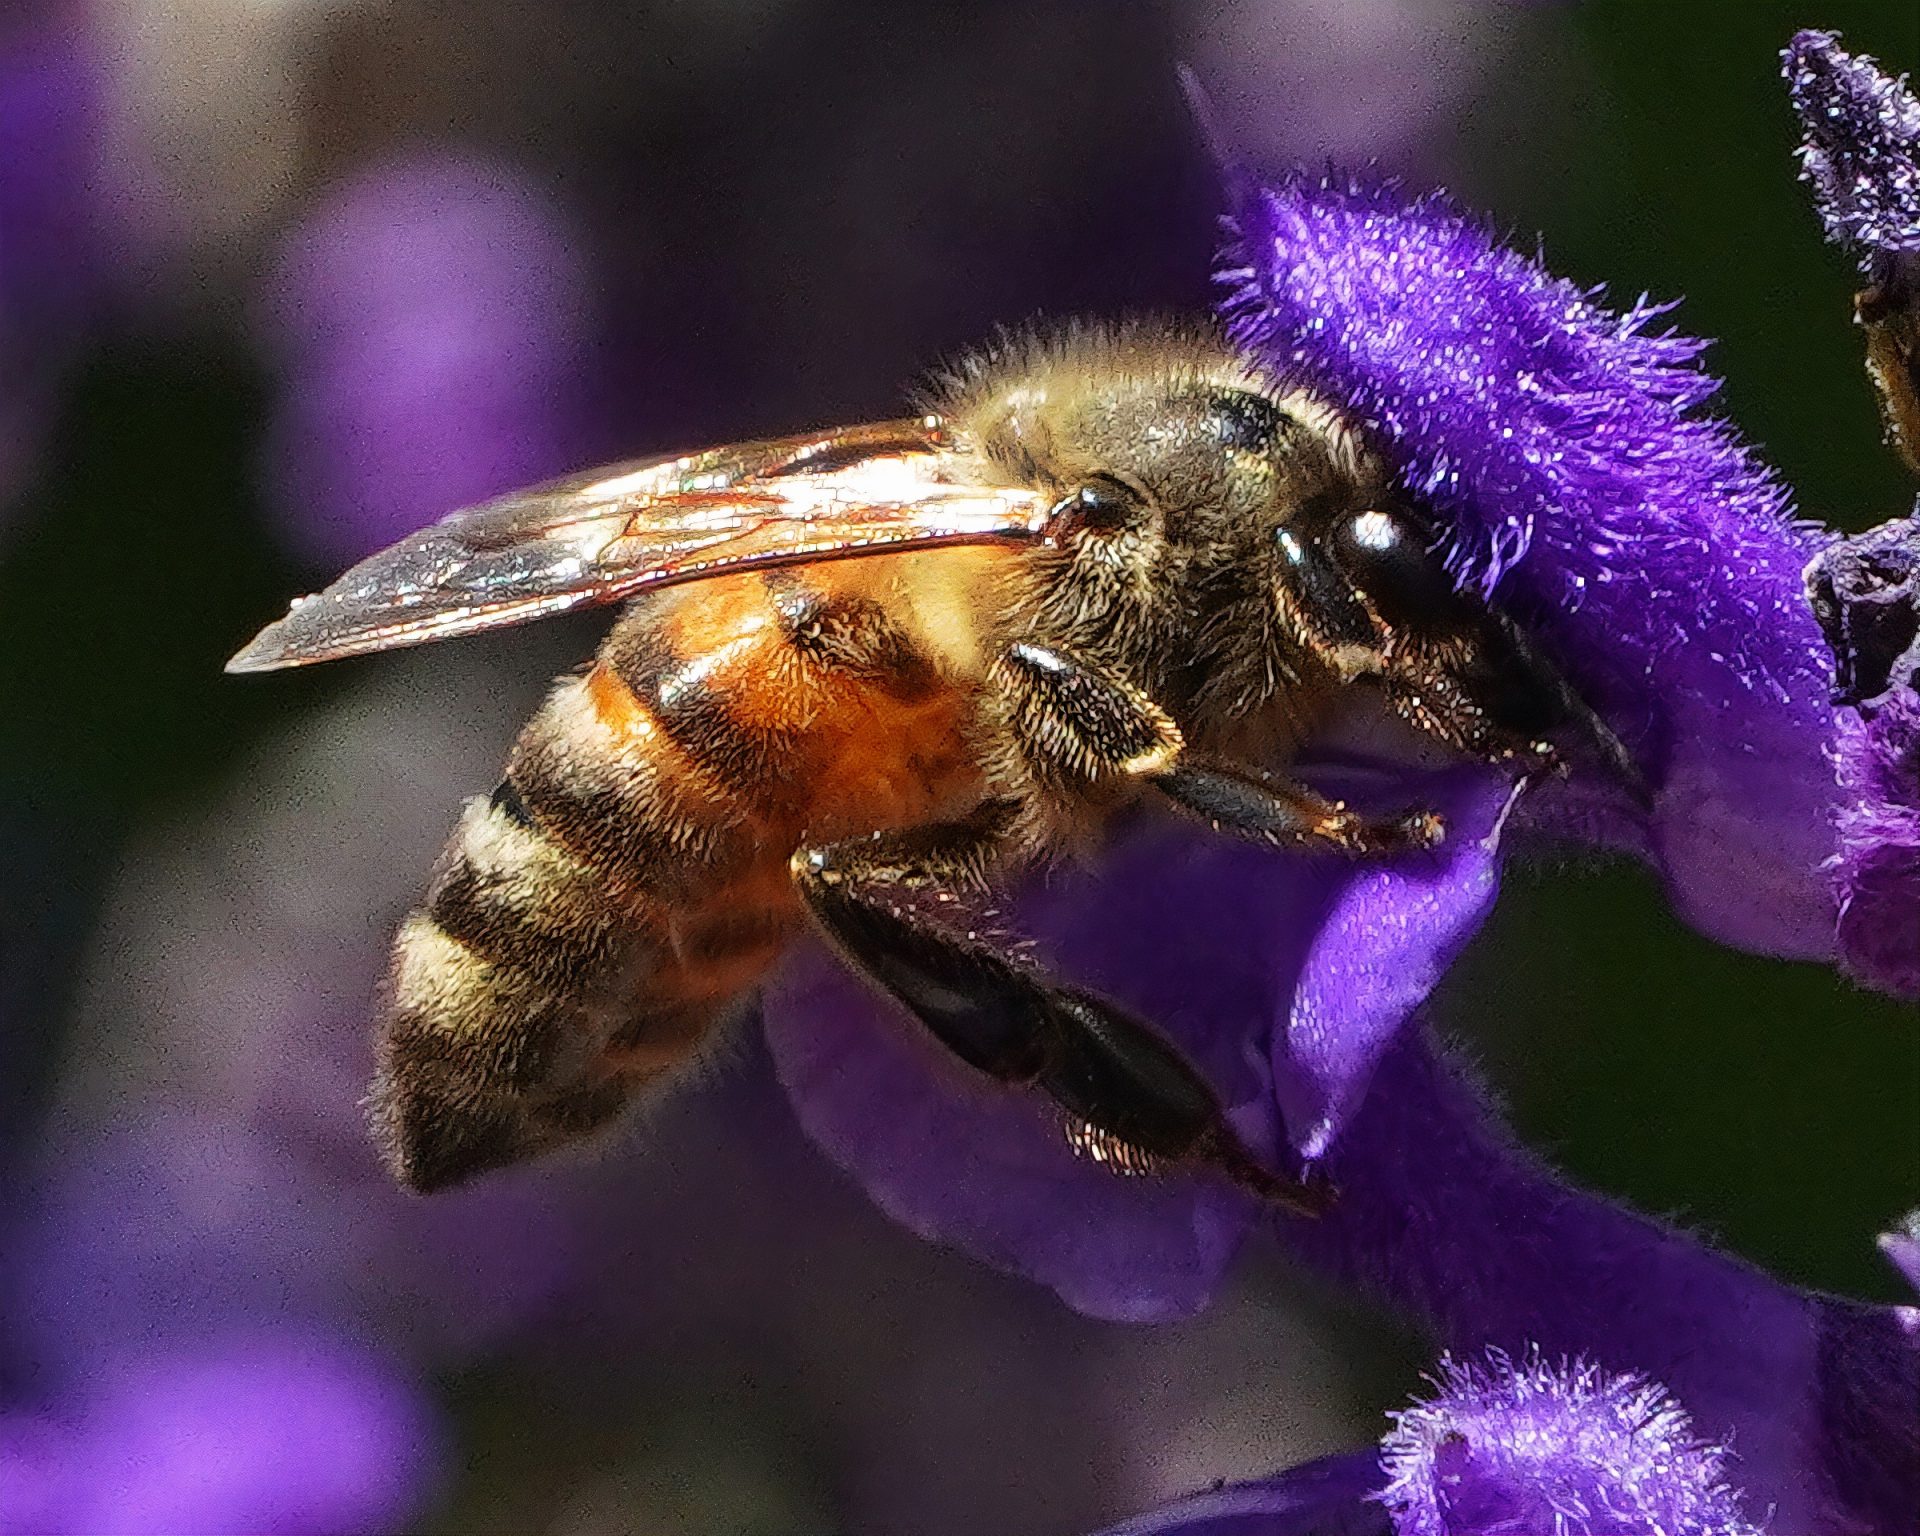
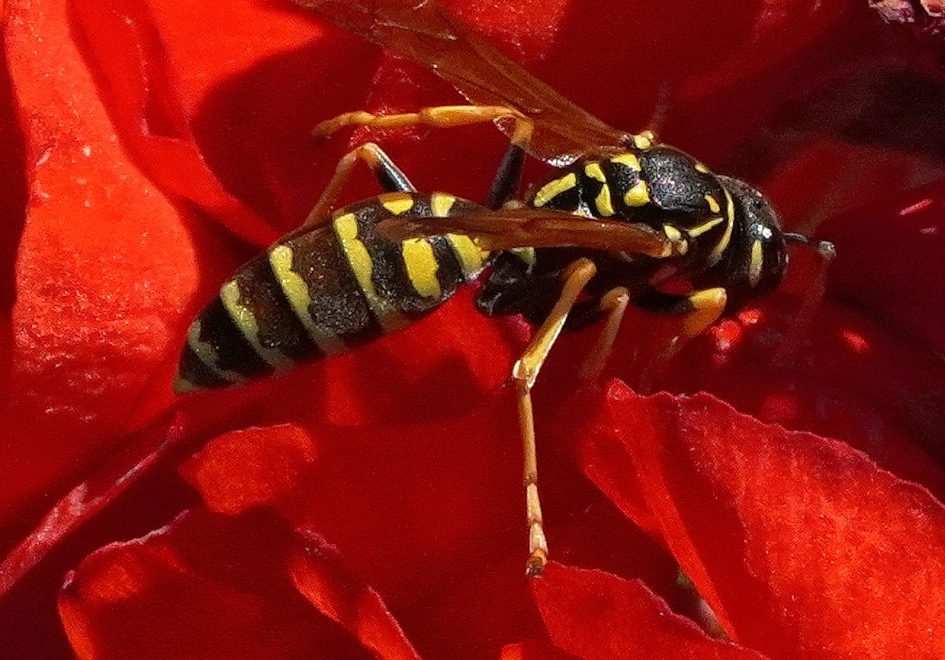
For the past few months, I’ve enjoyed photographing bees. The results are impressive and I don’t have to leave home. My shooting range of about two feet might be classified as “closeup”, but not so close as to be termed “macro”.
Choosing a Lens for bee photography
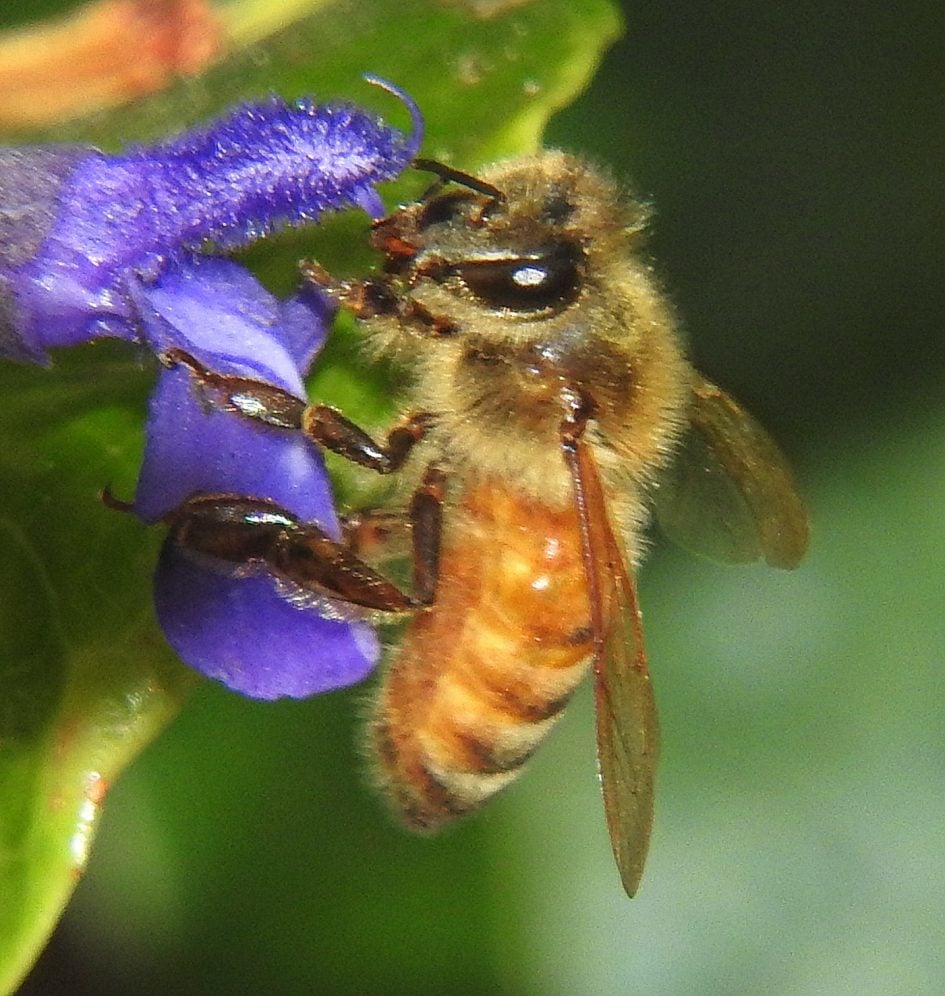
You can use any lens for bee photography, but for the best quality, I recommend a focal length of 75mm or longer which can focus within around two feet or 60cm. Any macro lens will be more than capable, but many standard lenses can also focus close enough. And if they can’t, you can always add a closeup lens or an extension tube. Closeup lenses come in various strengths and I find the weakest (1 diopter) works well. I also find a 16mm extension tube can be effective.
Although I own a superb 90mm macro lens, I more often photograph the bees with 200 to 300mm telephotos with an extension tube because they result in a larger subject on the image from my typical two foot distance. They’re also just as sharp as my macro lens at the smaller apertures I use for closeup photography. My main camera setup consists of a Sony A6400 fitted with a Sony e 18-135mm zoom.
Using a flash
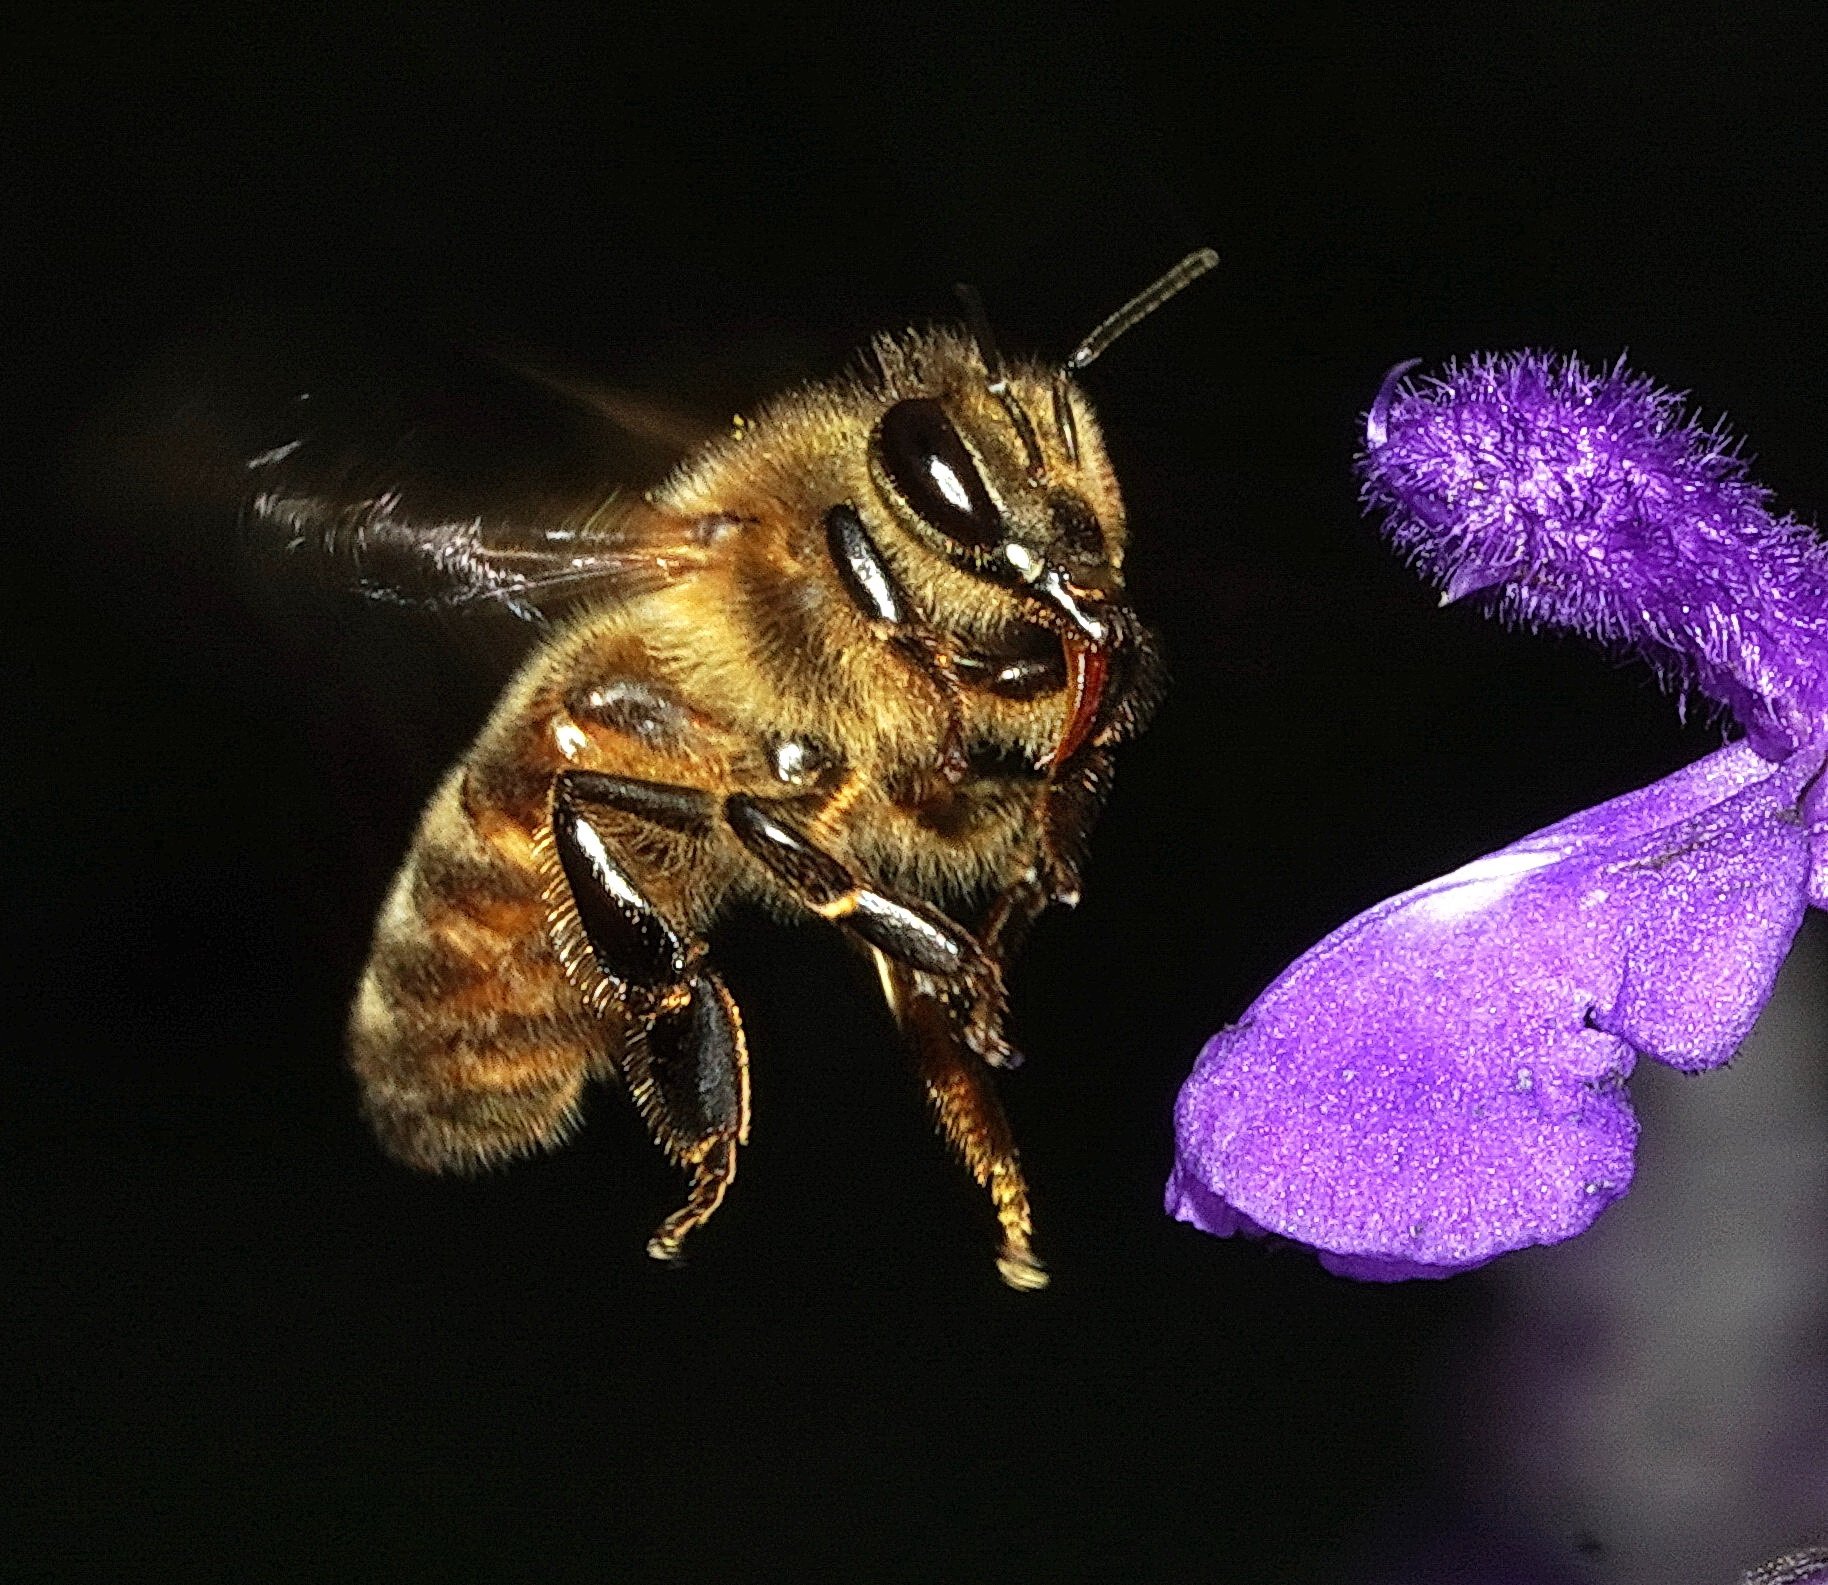
I initially started with natural light then discovered a flash produced better results for me, even in sunlight. I first used the pop-up flash on my Sony A6400 APS-C camera but then bought a separate flash which recycles much faster. I set my camera flash mode for “fill” and set the flash for TTL (Through The Lens). TTL automates the exposure process by adjusting flash power for proper exposure.
Camera settings
Depth-of-field is always very short for closeup or macro photography. For example, with a 100mm lens at f16 and a distance of two feet, the depth of field is only 0.8 inches (20mm). So, you’ll need small apertures. I ran resolution tests on an assortment of macro and standard lenses and found they were all equally crisp at f16. At f22 the sharpness degraded to about 85% and at f32 (when available) the sharpness was about 70%. But I sharpen all my photos in edit, which makes even f32 photos look acceptable. I now shoot mostly between f16 and f22. I also found that my cheap 55-210mm zoom was just as sharp as my celebrated 90mm macro lens at these small apertures.
In terms of sensitivity, I began with high ISOs, like 3200, to allow fast shutter speeds with small apertures. But when I started using flash, I found that very low ISO caused the light from the flash to dominate and freeze motion. The image quality was better at low ISO too. But very low ISO and small apertures lead to powerful flashes and longer recycle times. So I sometimes raise my ISO from my 100 minimum to 200 or 400, to shorten flash recycle times. Most cameras produce very good image quality at ISO up to 400 or 800. After that, higher ISO can result in a noticeable reduction in image quality, depending on the model.
Bee photography technique
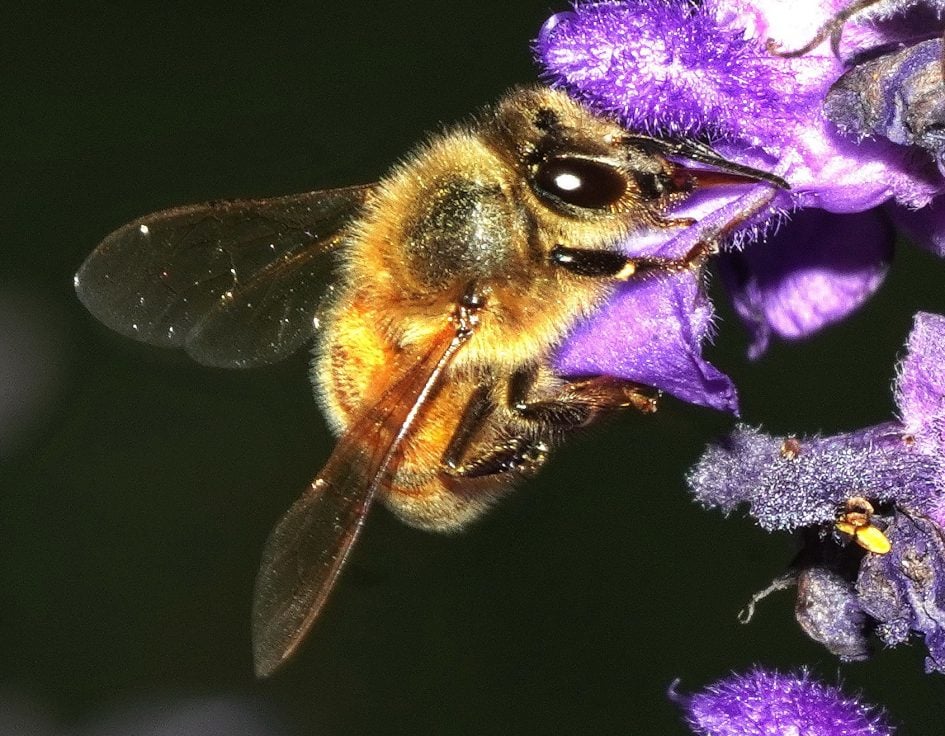
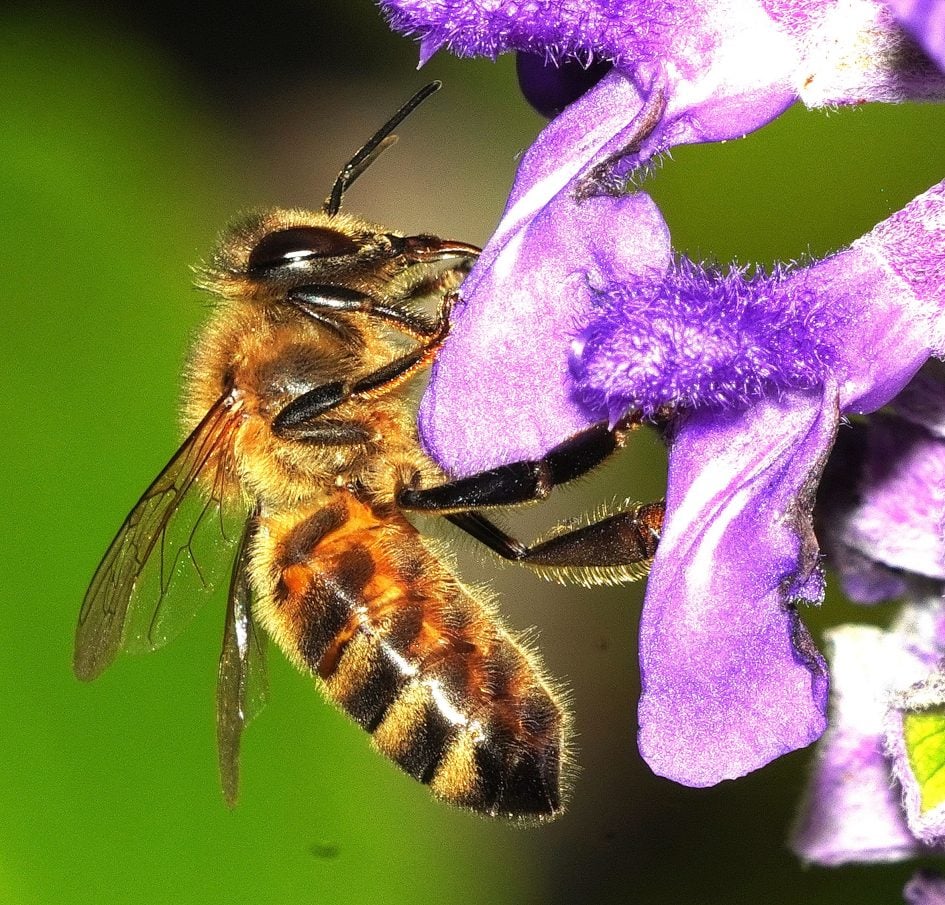
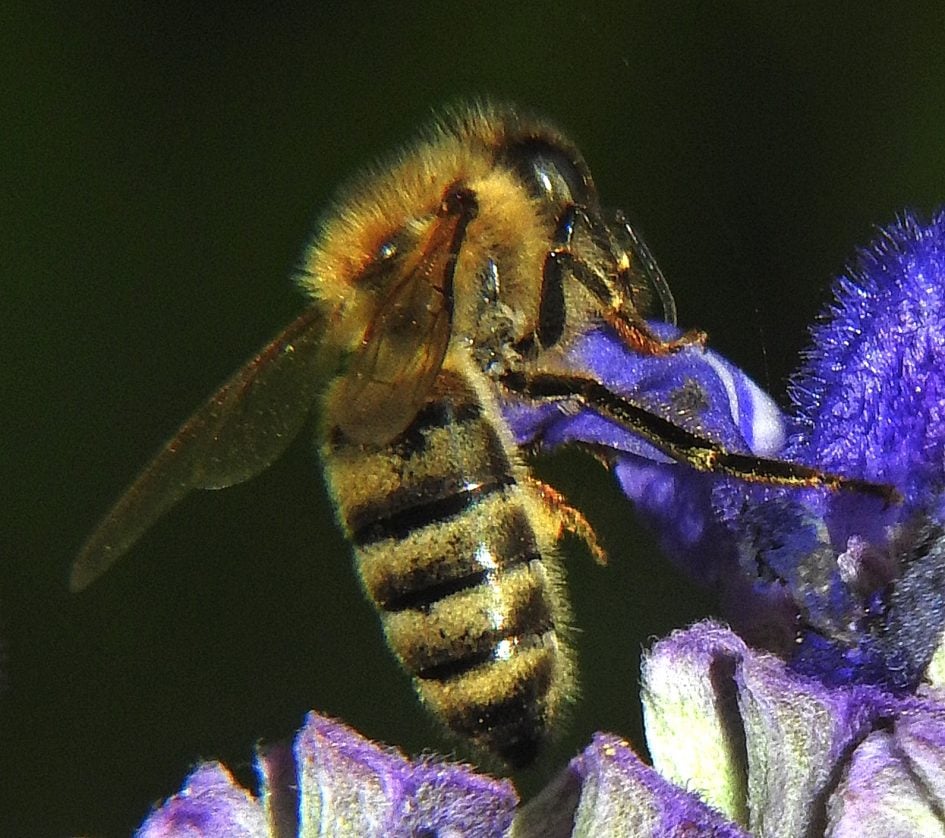
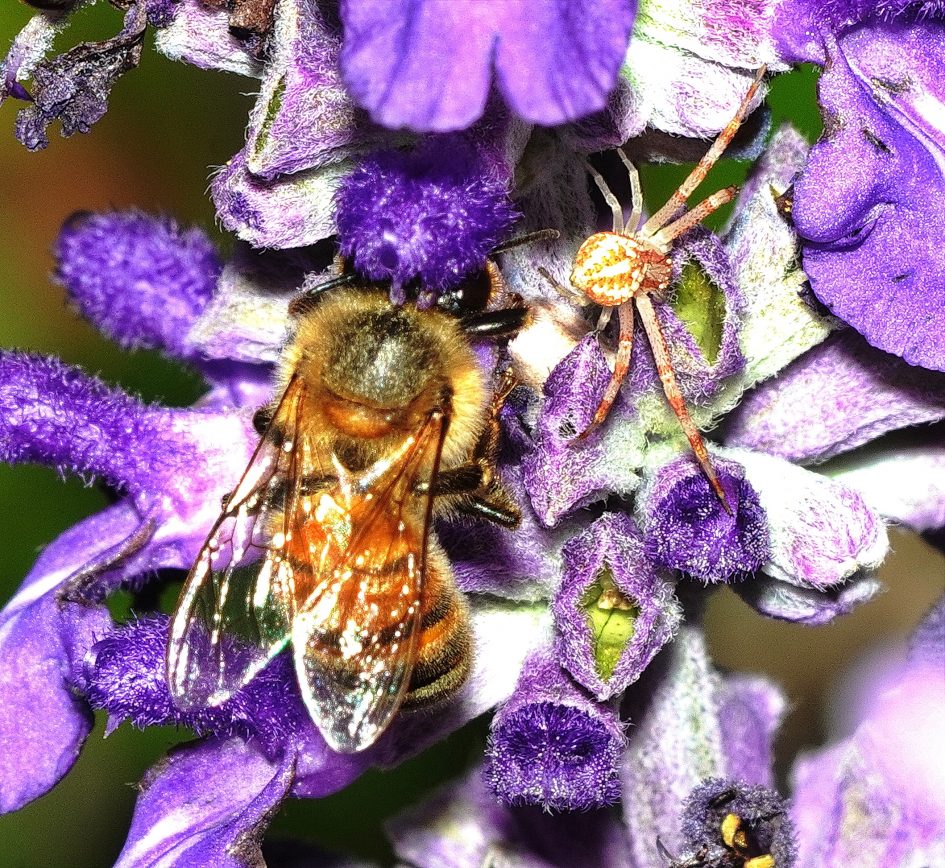
I stand or sit near to flowering plants which bees visit and wait for one to alight on a flower. The bee immediately buries its head in my salvia flower for several seconds. After shooting a lot of headless bees I got smarter. I found if I compose and wait while their head is buried, there is an instant when they withdraw their head before they fly off. That’s when I press the shutter. I’ve shot hand-held, monopod, and tripod. All work because the flash will freeze your shake.
Camera Sensors
An important sensor metric is pixel spacing. Here are some:
20mp Micro Four Thirds = 300 pixels per mm
24mp APS-C = 256 pixels per mm
Sony 61mp FF = 266 pixels per mm
Canon 45mp R5 FF = 228 pixels per mm
Sony 42mp FF = 220 pixels per mm
Sony 24mp FF = 168 pixels per mm
Canon 20mp R6 FF = 152 pixels per mm
Sony 12mp FF = 119 pixels per mm
You can calculate this for any camera by dividing the number of pixels by the sensor dimension. For example, my Sony A6400 sensor is 6000 pixels wide and 23.4mm wide. 6000 / 23.4 = 256 pixels per mm.
Consider a given lens photographing a bee or a bird at a distance which results in an image 1mm tall on the sensor. Holding these conditions constant, that image will be 1mm tall on all sensors. But the number of pixels will depend on the pixel spacings above.
So although many writers imply Full Frame is best, smaller formats like four thirds or APS-C usually produce greater subject size (measured in pixels) on the sensor, except for the highest resolution full framers like the A7RIV. Although Full Frame pixels are often larger with lower noise than most smaller formats, I generally photograph birds and bees in good light, where noise is rarely an issue. So if you’re selecting a camera for “the birds and the bees”, the smaller formats or high-MP full frame may work out best for you. But whatever you have will work.
Bridge / super-zoom cameras
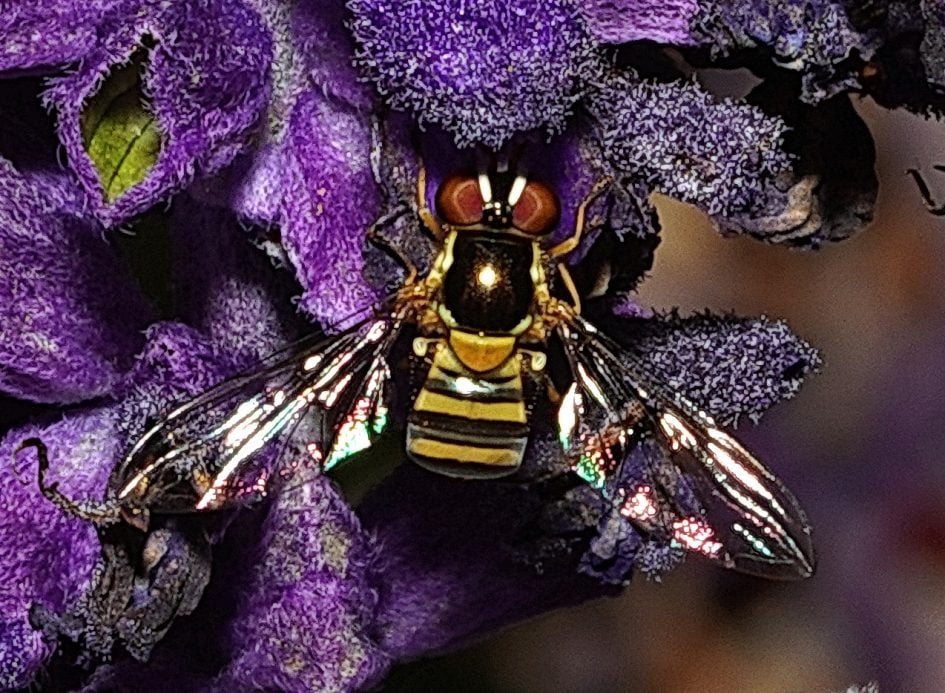
I was quite surprised at the results achieved with my Nikon P900. I was reluctant to try it because the smallest aperture is f8. These examples were shot with zoom from 80 to 89mm which results in a depth of field of only 2.3mm at f8. Yet the photos are very sharp. I used a one diopter closeup lens but that was hardly necessary because the camera has a closeup mode which gets you almost as close without the closeup lens.
This camera has a tiny 1/2.3 sensor, like most smartphones, yet it delivered these pics. All were shot with the built-in flash and edited just like I edited the A6400 photos. These results suggest that bridge or pocket zoom cameras with 1/2.3 or “one inch” sensors can work very well for bees.
Editing your photos:
I begin by cropping, then adjust tone curves for desired brightness and contrast, then sharpen. I can do all of this in a minute or two. If you’re sharing photos by email or on social, you may want to re-size them.
About the author
Alan Adler has been pursuing photography since 1957 when he bought his first “real camera” a Nikon S2. He moved to a larger format around 1970 and his 4×5 black & white landscapes were sold by the Focus Gallery in San Francisco and the Image Gallery in Palo Alto. He is an engineer/inventor with 40 patents in the fields of electronics, optics, aerodynamics, hydrodynamics and sporting toys. His best-known inventions are the AeroPress Coffee Maker (Gordon’s favorite) and the Aerobie Flying Ring which set numerous world distance records for hand-thrown objects.
You can meet Alan in this video by David Friedman who profiles inventors.