

How we plant ranunculus and anemone
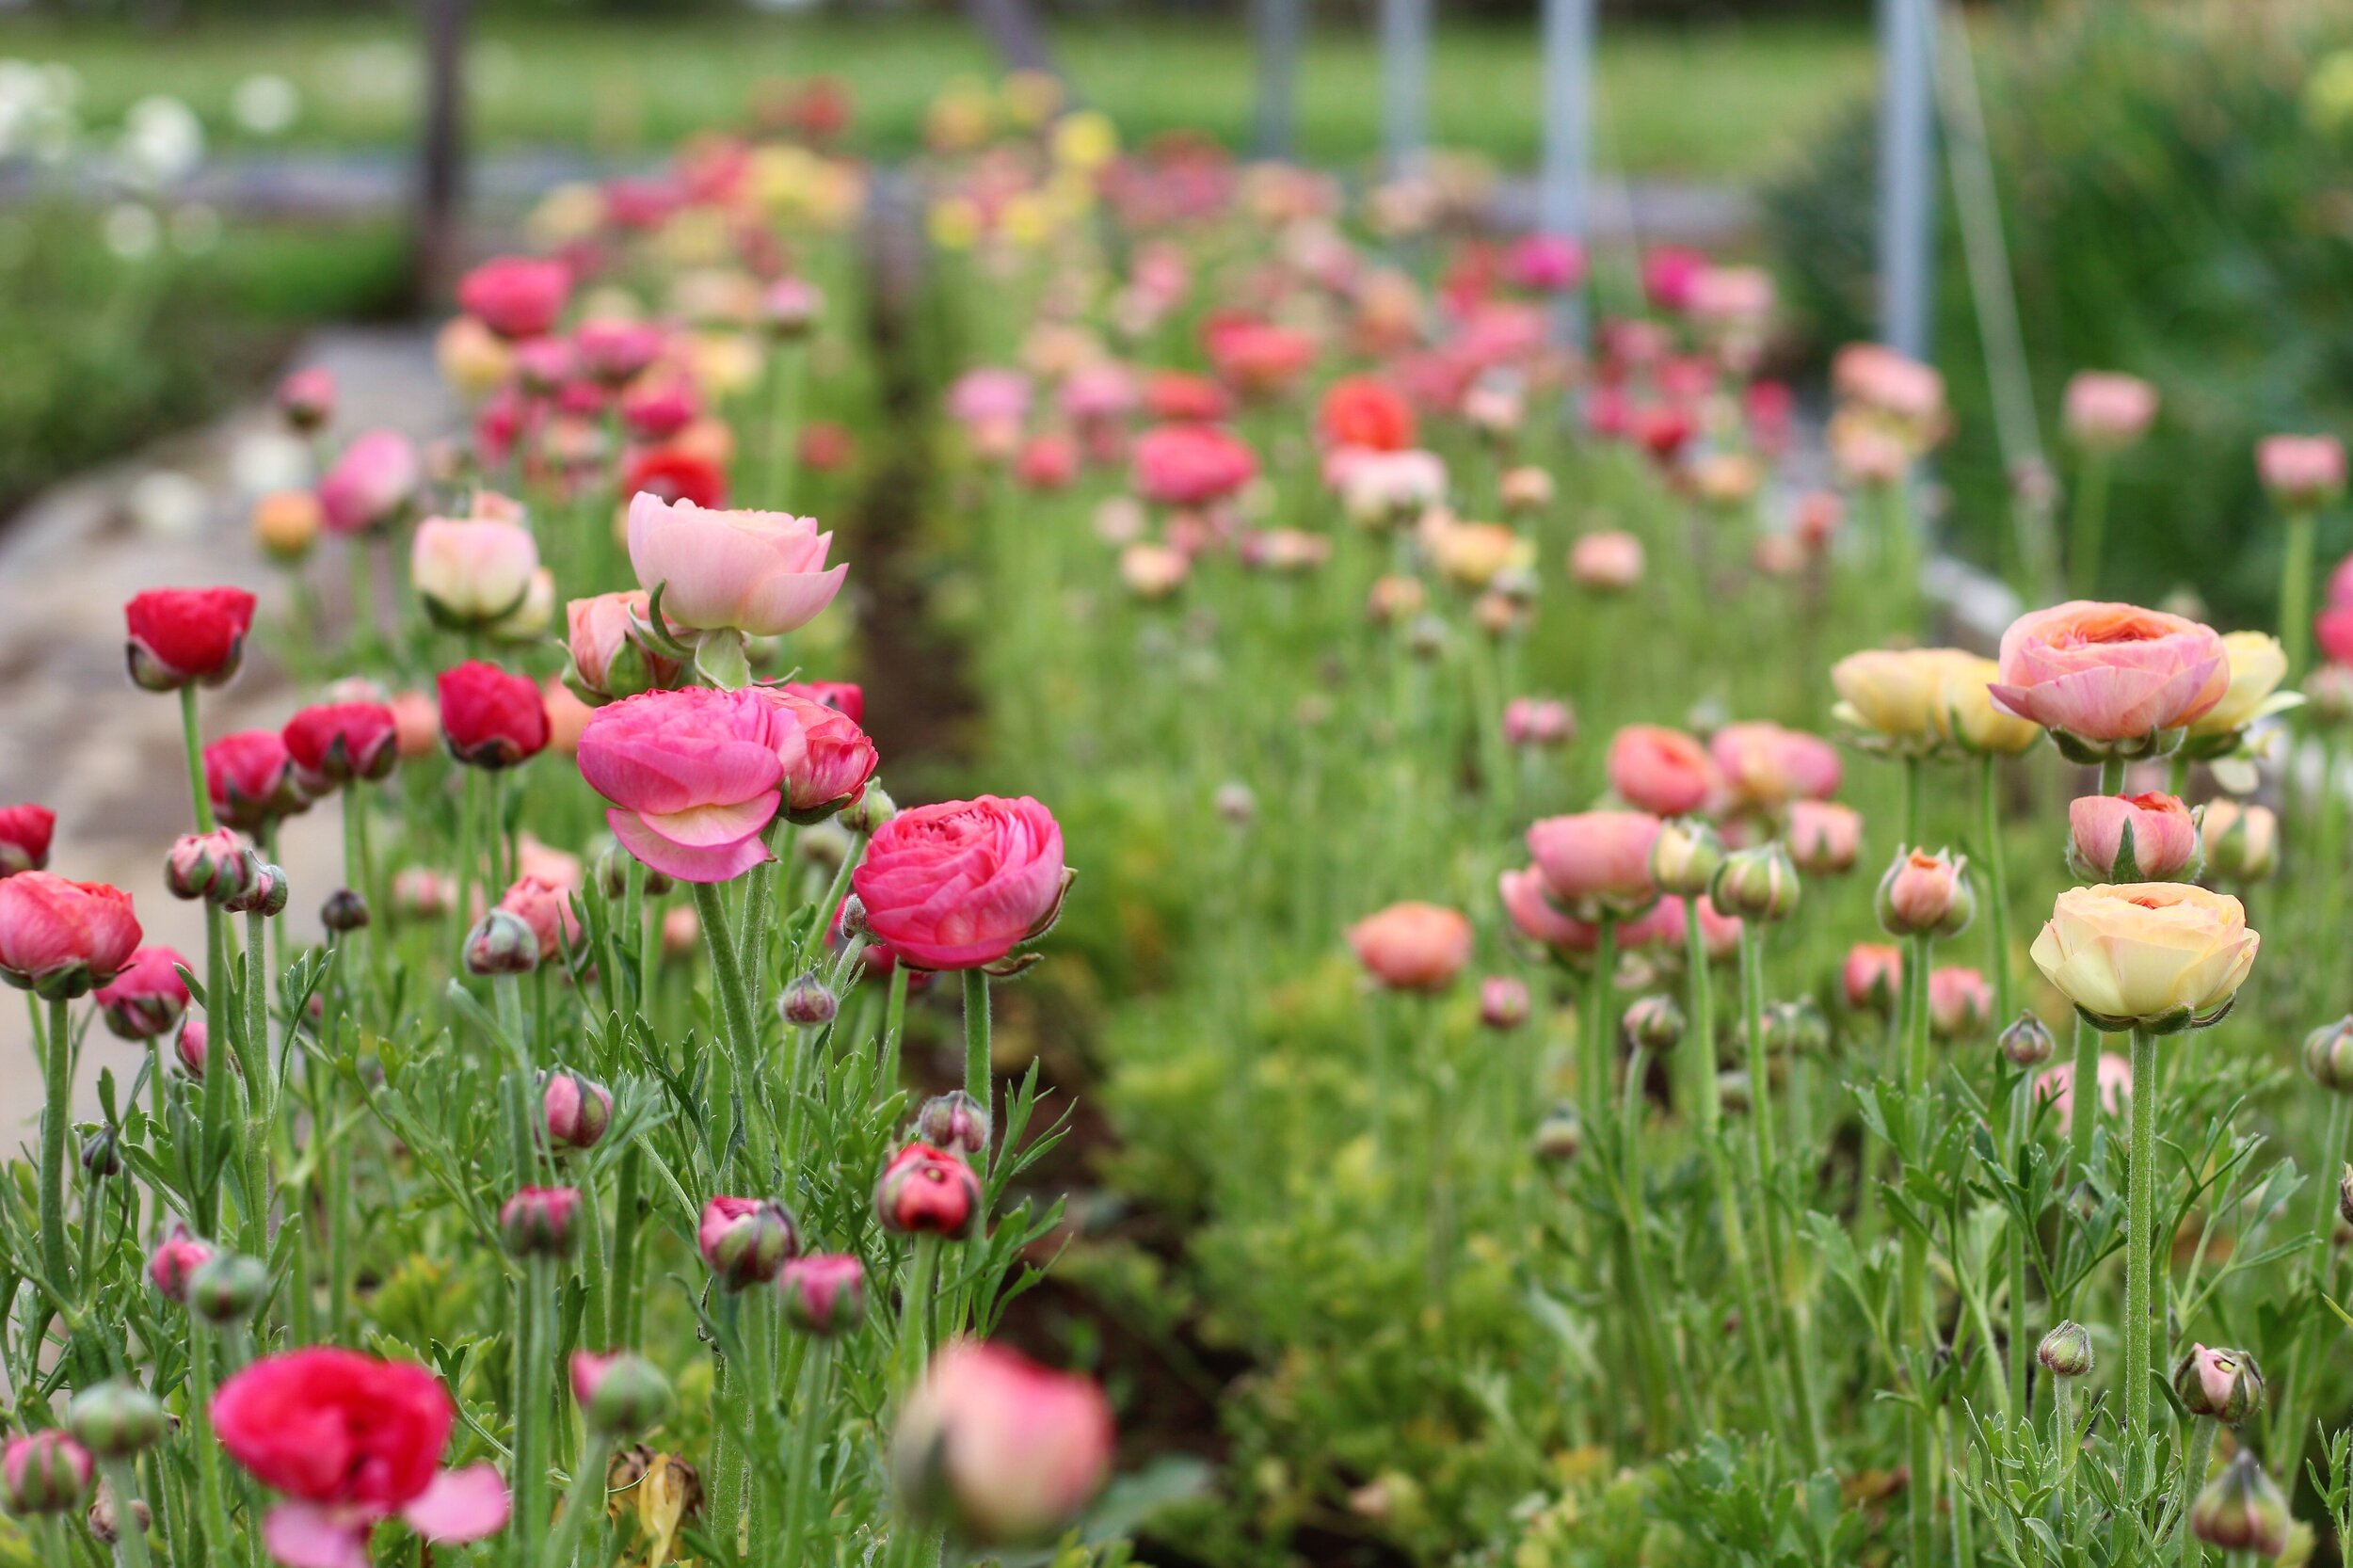
/Ranunculus and anemone are some of the earliest spring blooming flowers (and also some of my very favorite flowers!) and I am determined each year to have an amazing crop because I cannot imagine spring without them. I have grown these flowers in all sorts of conditions – some ideal and some far from ideal. While they can be a little tricky and the corms are an investment, I believe in the philosophy of "don't let the perfect be the enemy of the good.” I will share our system of planting that works great for us, but just get your own hands dirty and give them a try!
Growing Conditions + Where to Plant
We have widely varying winter weather here in Western North Carolina (zone 6b/7a). It can be in the upper 60s during the daytime one day and then reach a low of 25 the following night. I prefer to plant ranunculus and anemone in a hoop house (a small, unheated greenhouse-like structure) to have a little more control over the environment, but planting them under layers of Remay or light-filtering frost cloth works too (you want to let the light in, not keep it out). You will want to adjust your time of planting according to the location (hoop house or field) of where you will plant. If you have a hoop house, you can plant earlier in the winter because the plants will have more protection from freezing temperatures. If you plant outside, its best to wait until later in the winter so there are less drastic and frequent temperature fluctuations.
Soil Prep
I tend to leave the end walls of our hoop house open for the duration of the winter, except for when the temperatures dip below 20 degrees F/ -6 degrees Celsius. For temperatures in the 20’s, and then I close the end walls of hoop houses up snugly and also cover the plants with a layer of Remay frost cloth. I uncover in the morning as soon as it starts to warm up. Ranunculus and anemone are prone to root rot and fungal diseases, so they require good air movement and drainage.
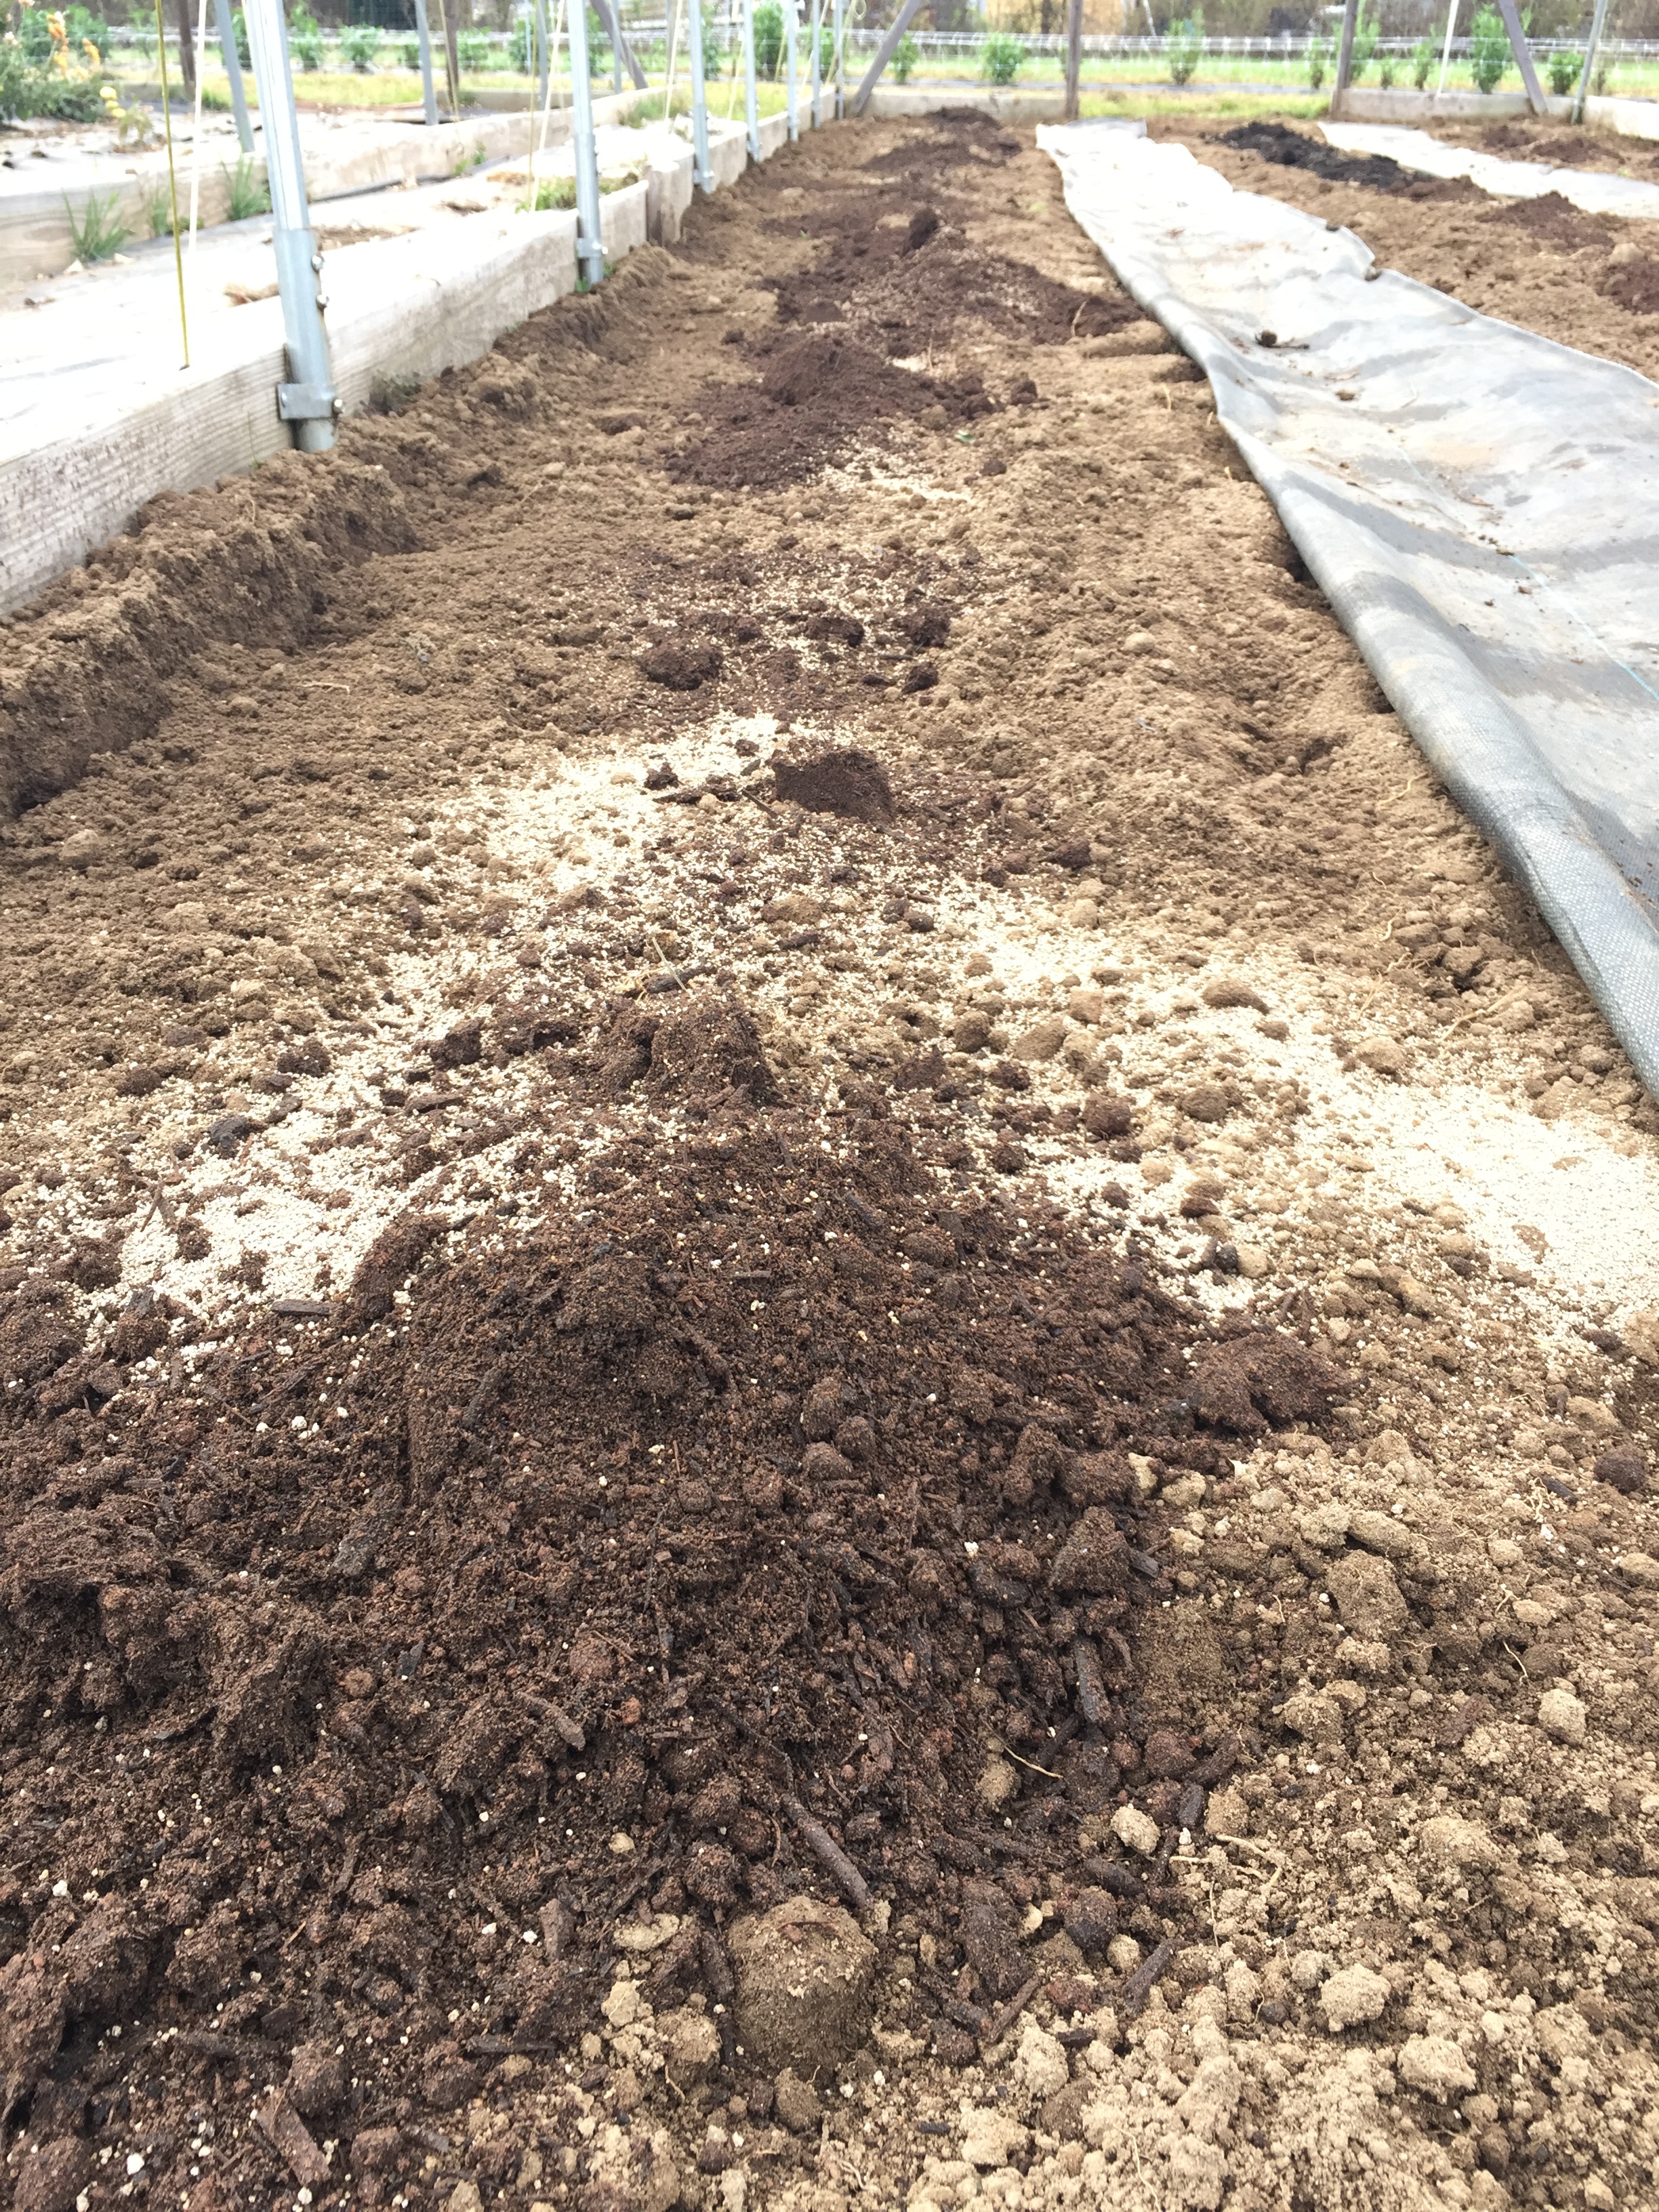
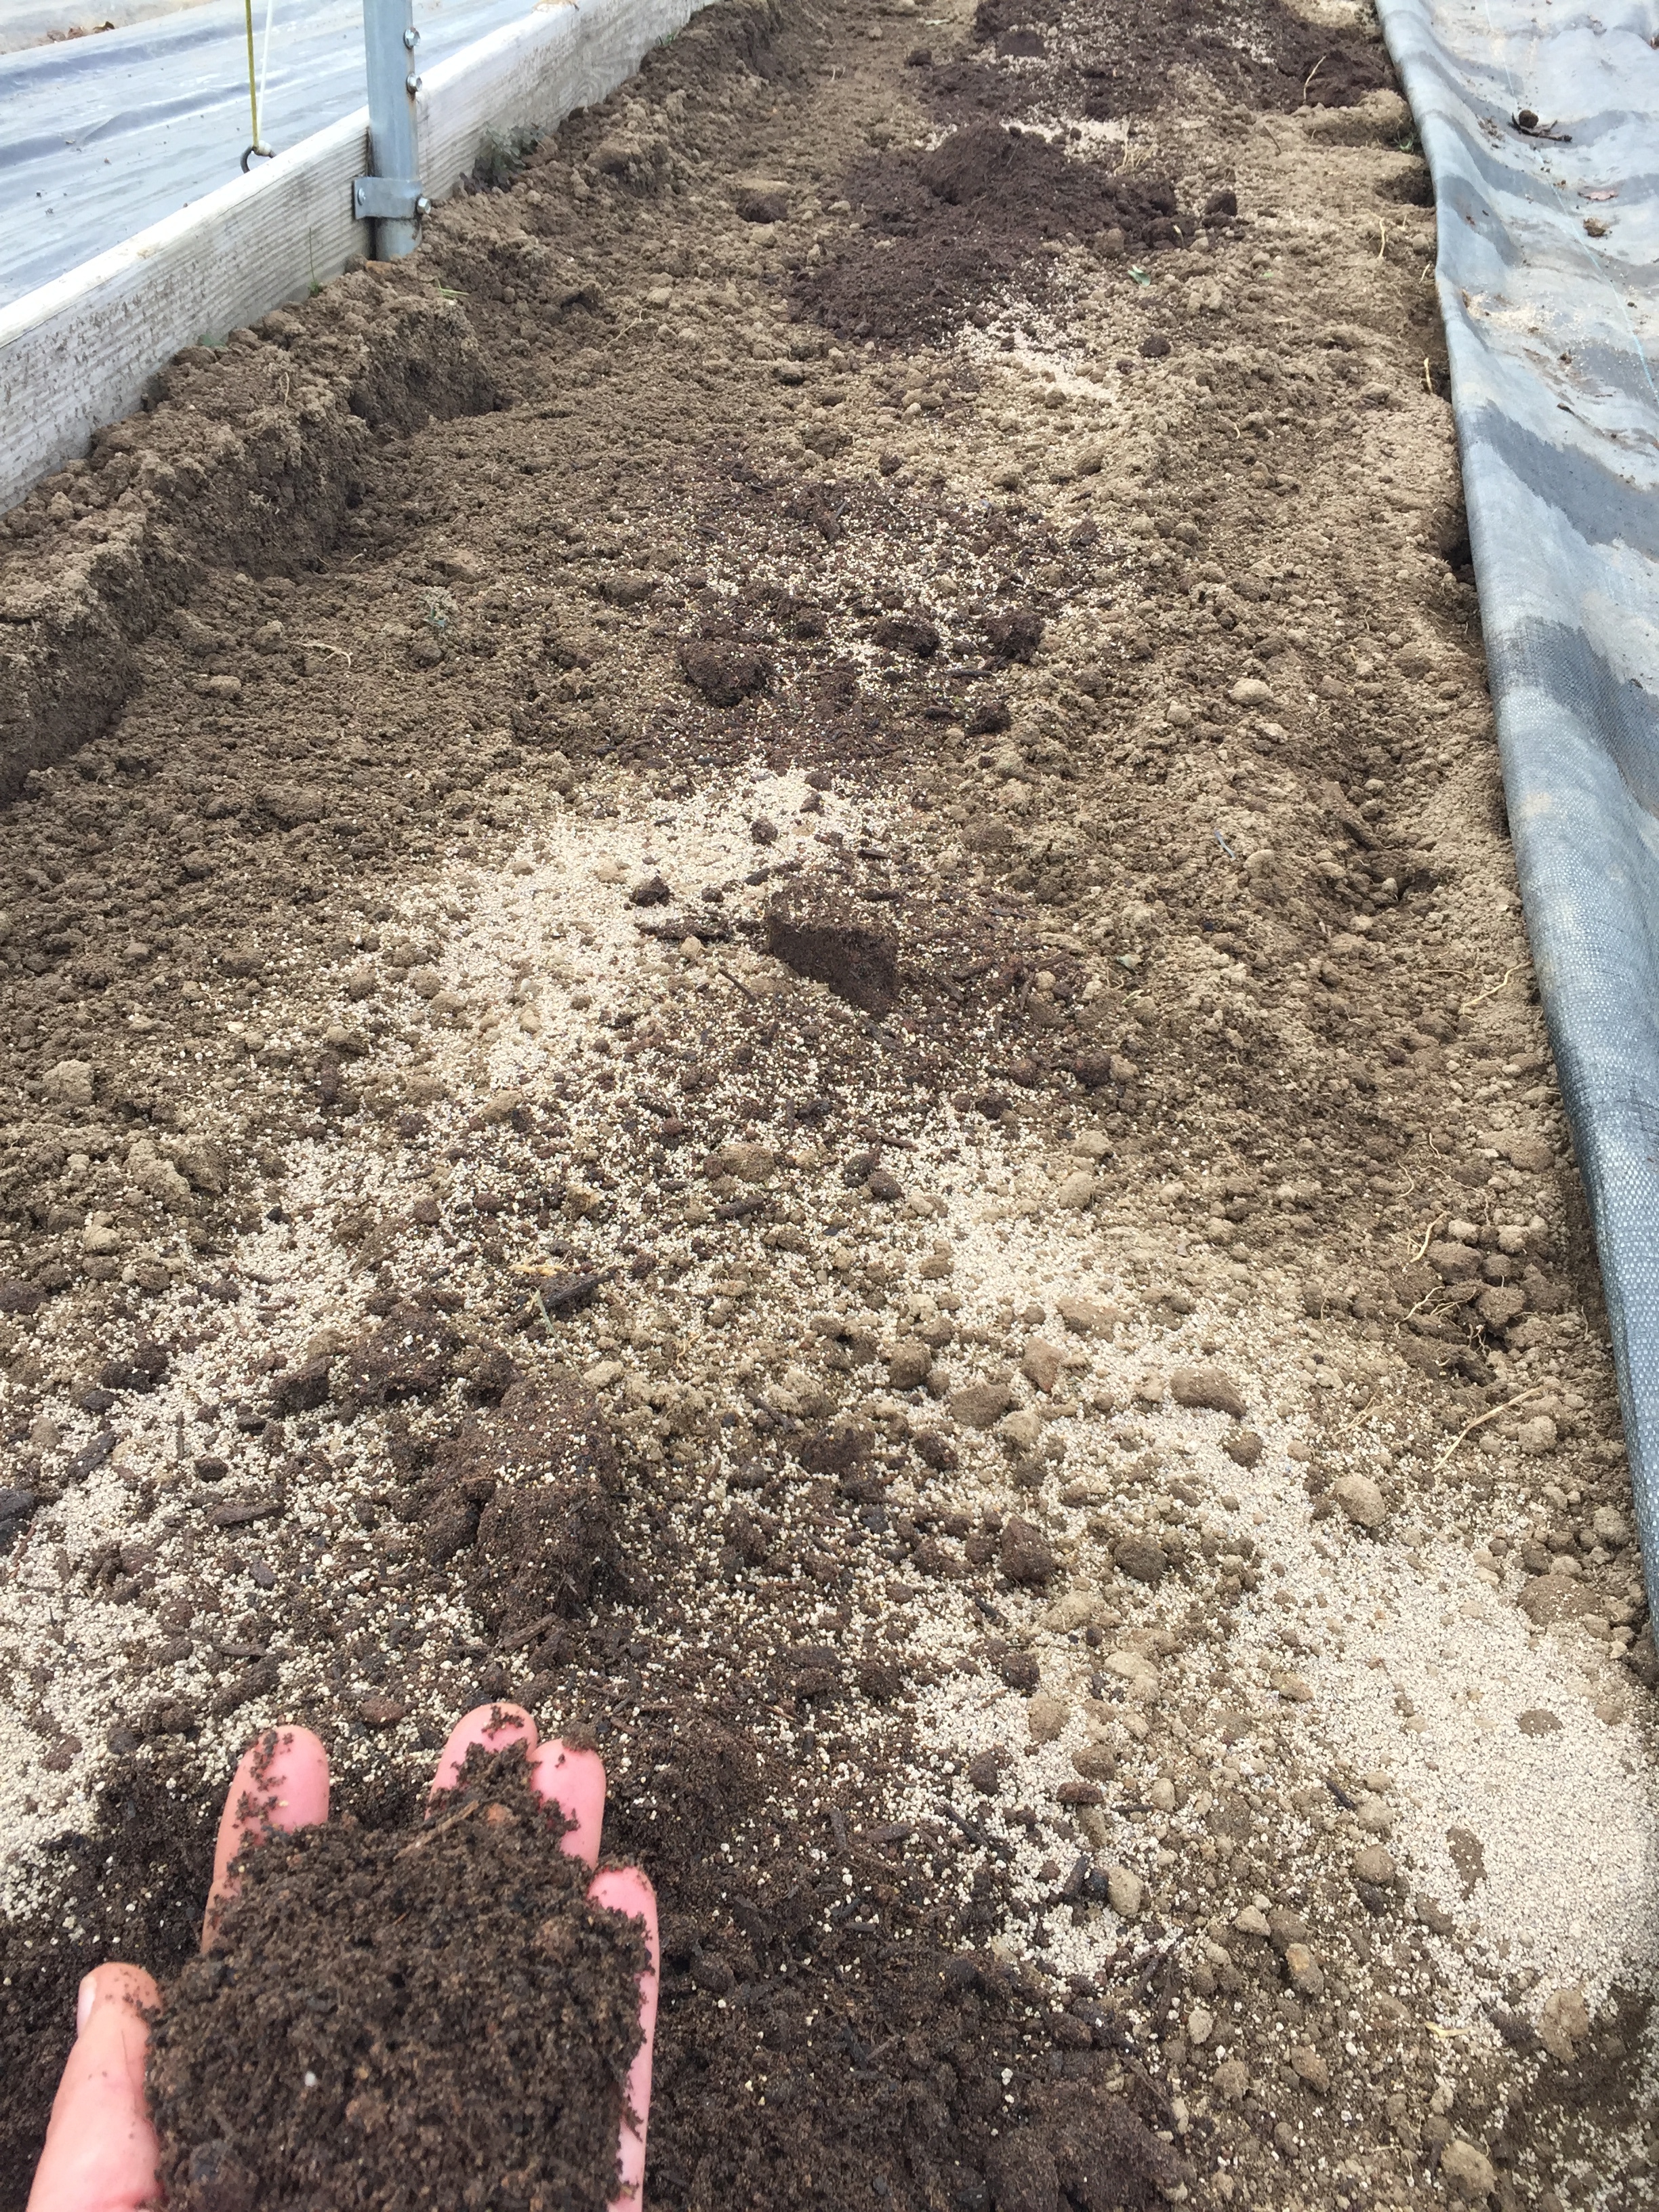
Once the soil is dry enough, I go through the bed with the walk behind tiller, starting with a shallow till first, then do a deeper pass and finish with a light till to smooth the bed.

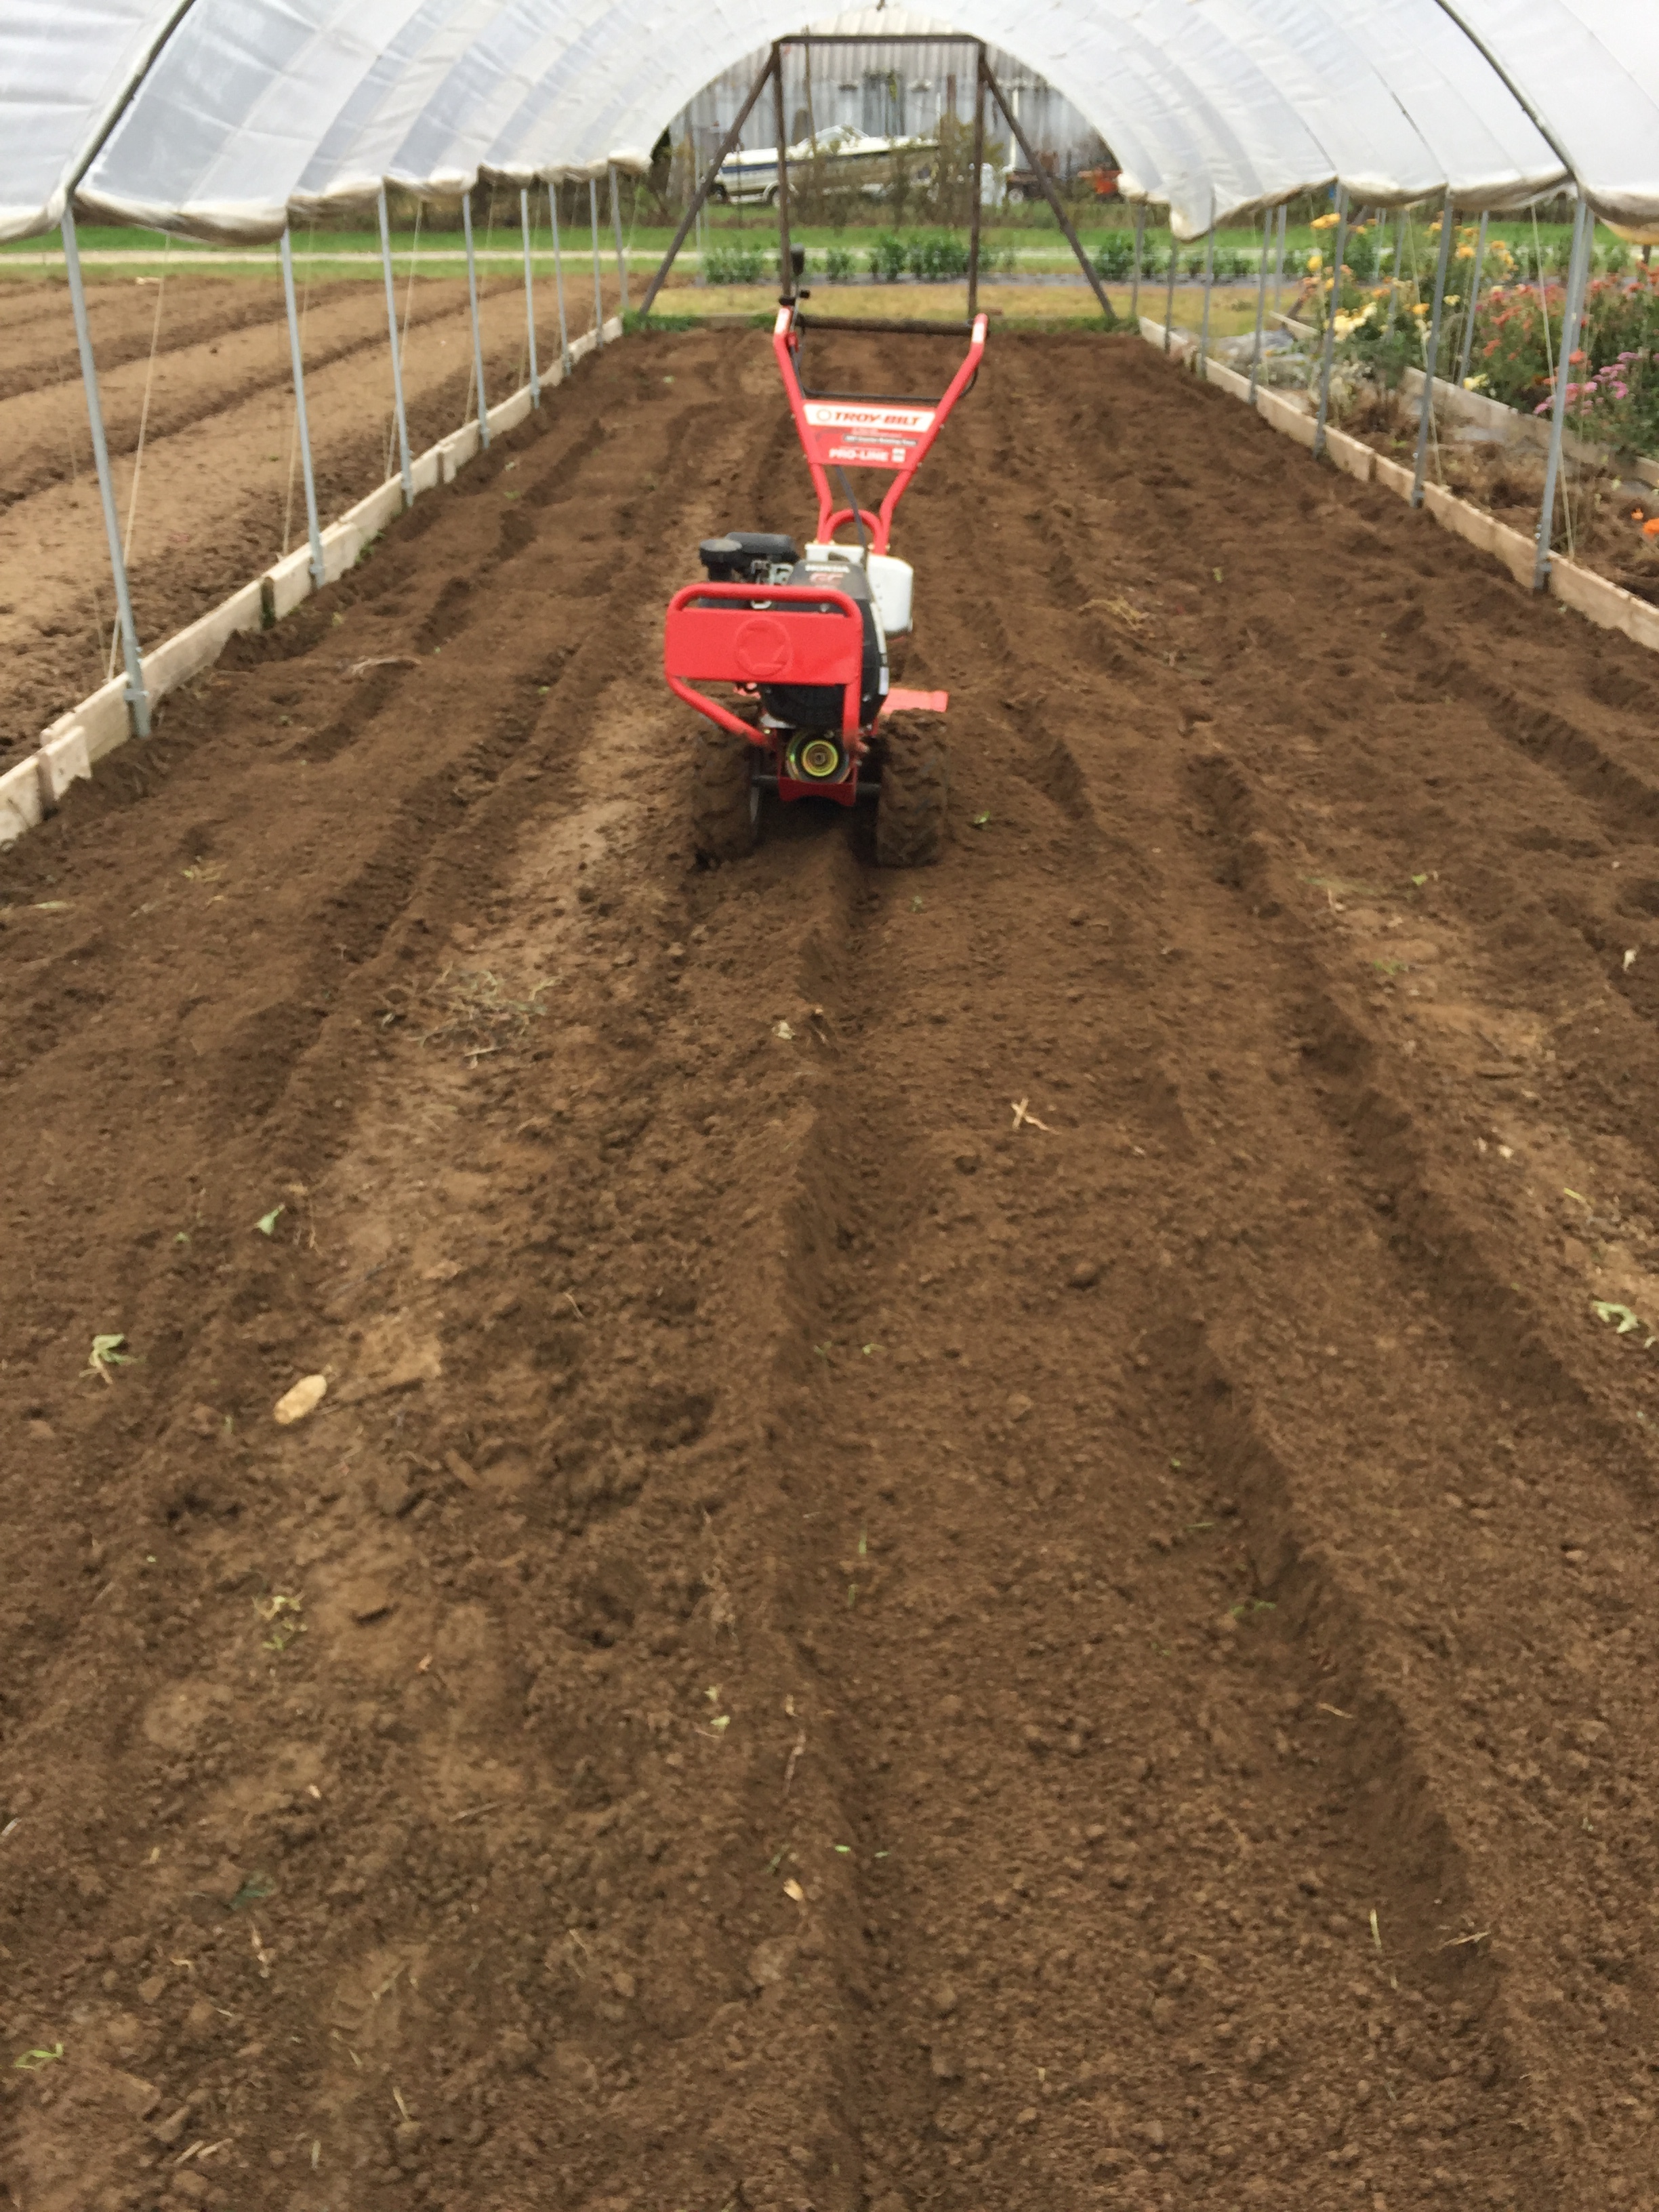

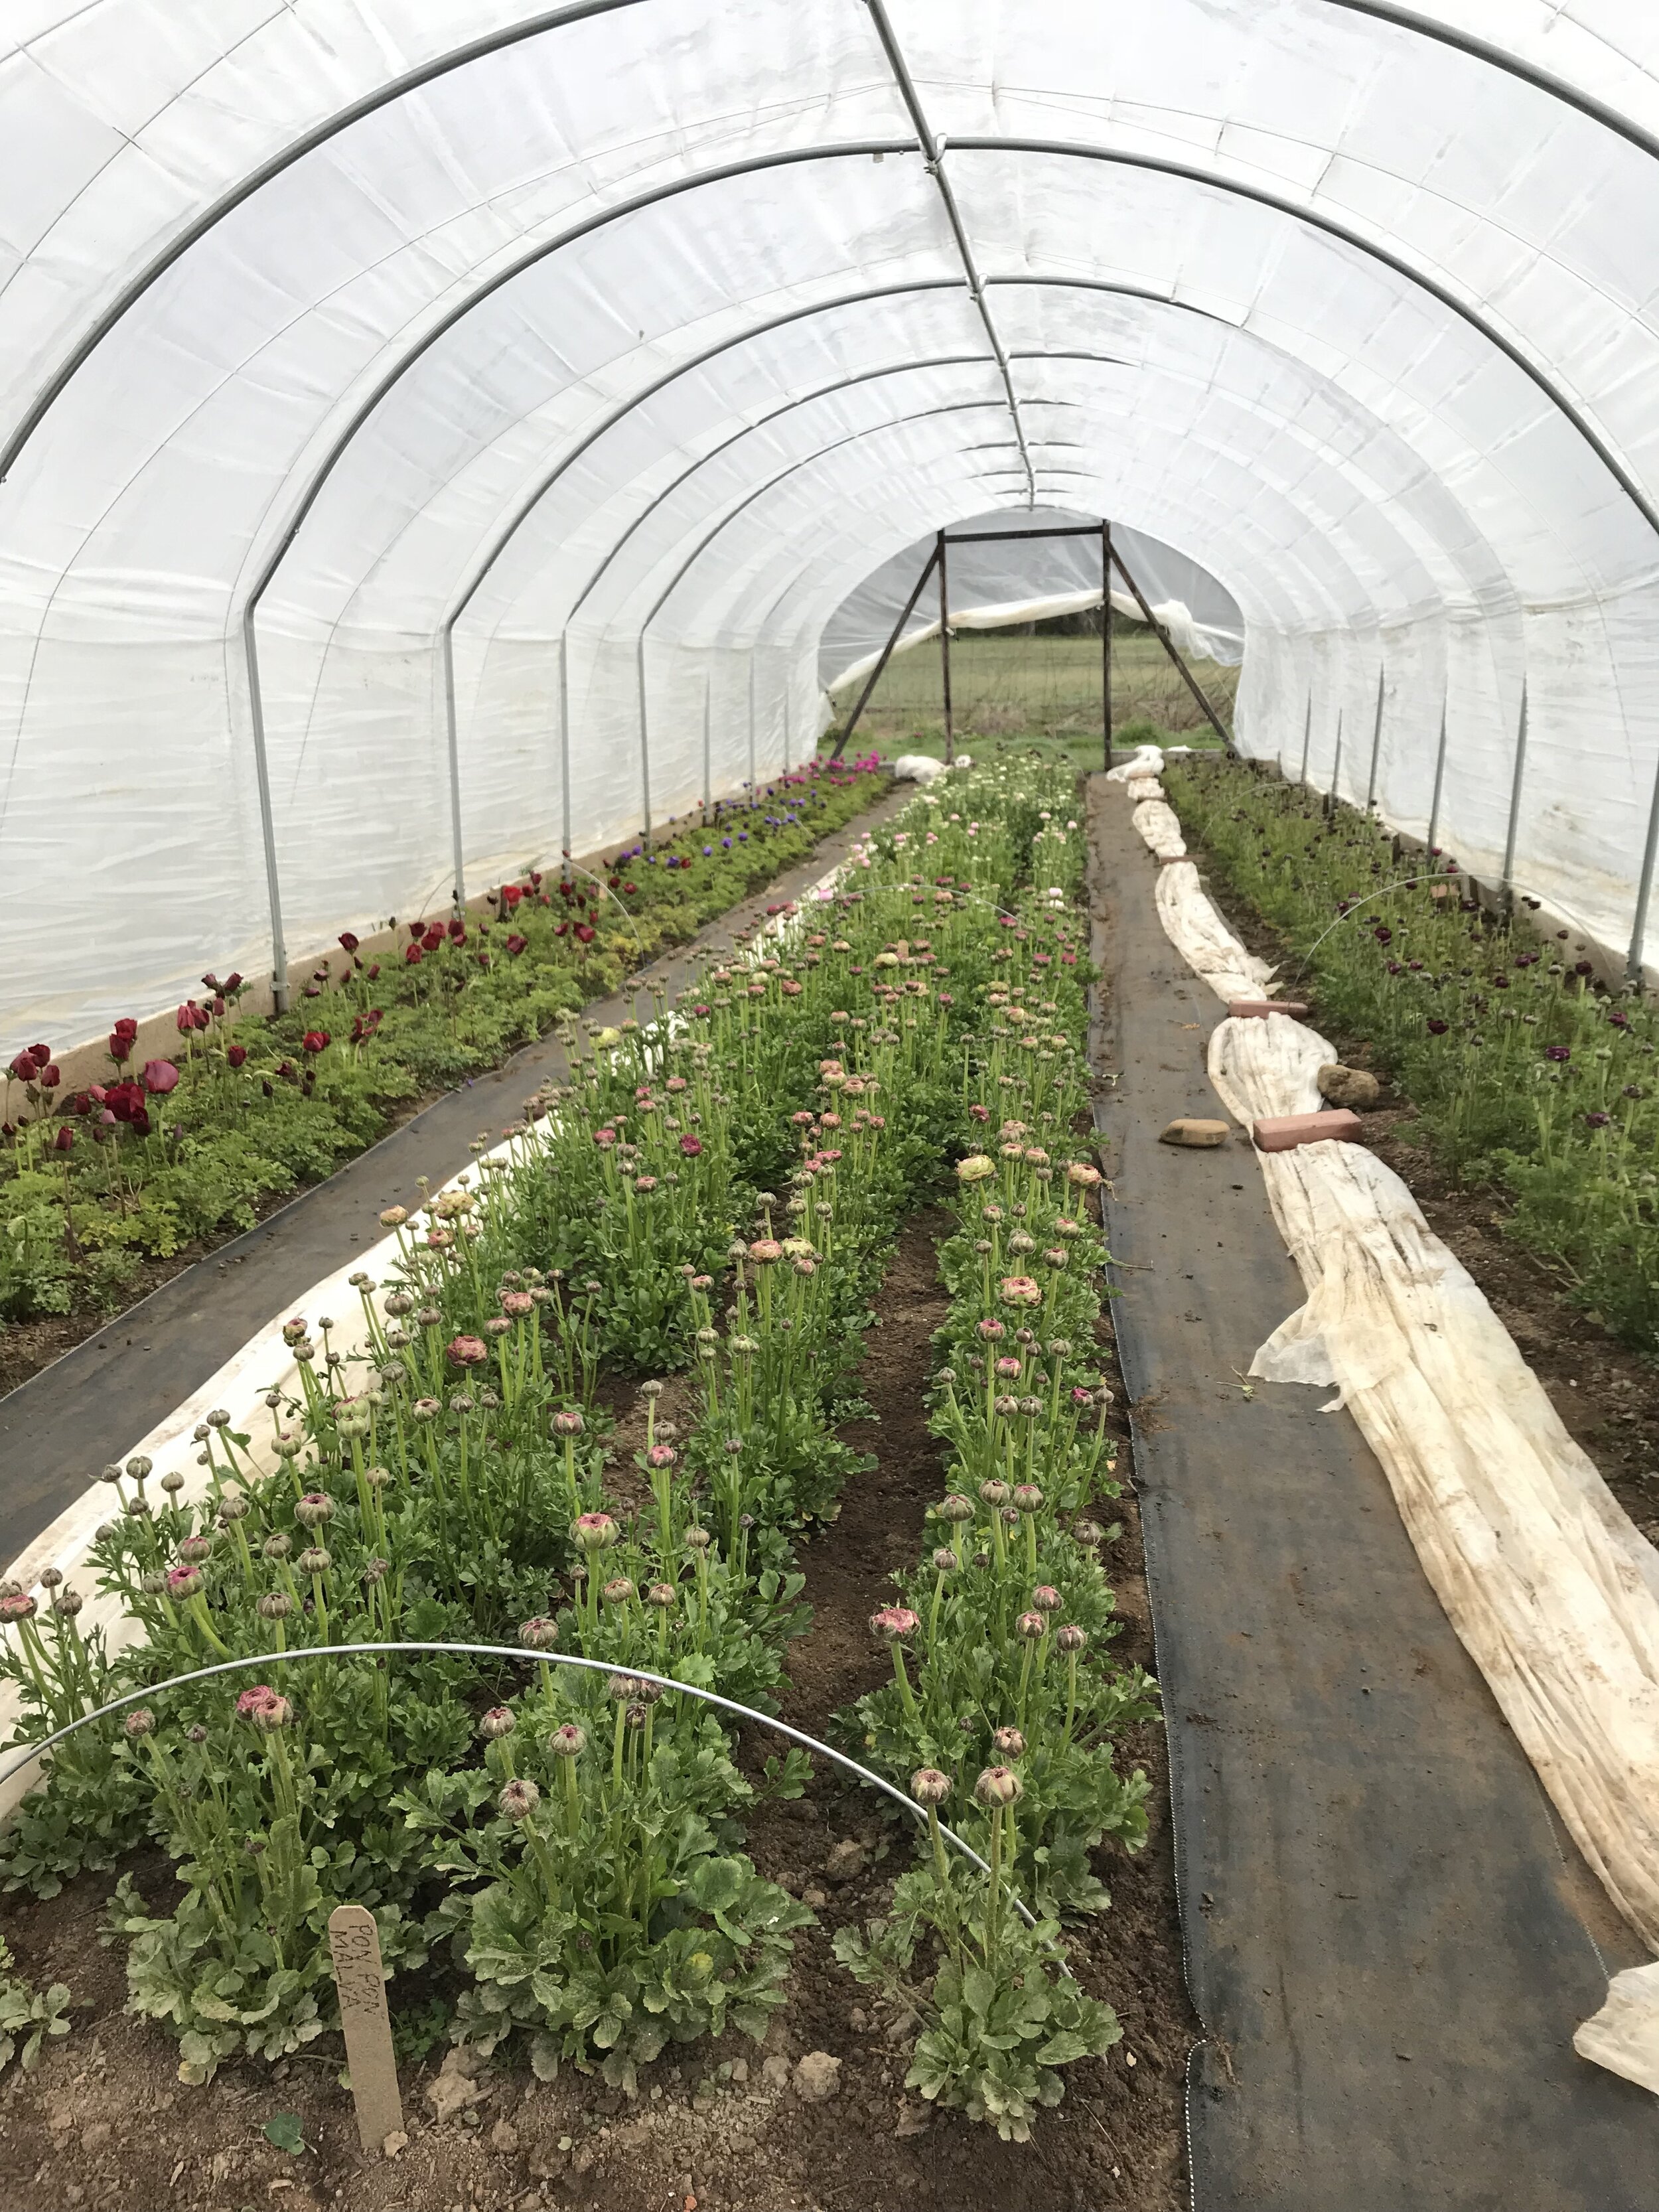
Our hoop houses are 14' wide so I can fit 3 rows in each, leaving 2 very narrow pathways of about 18" each. I would rather have narrow pathways and maximize the amount of growing space, so I settle for feeling slightly awkward in the paths. After tilling, I lay down reusable woven landscape fabric in the pathways so that there is no weeding or maintenance required. I do not plant ranunculus or anemone directly into landscape fabric because the added heat is not good for these particular flowers. After tilling and laying fabric in the pathways, I spread organic compost and fertilizer in each bed and mix them into the soil with a rake.
Presprouting
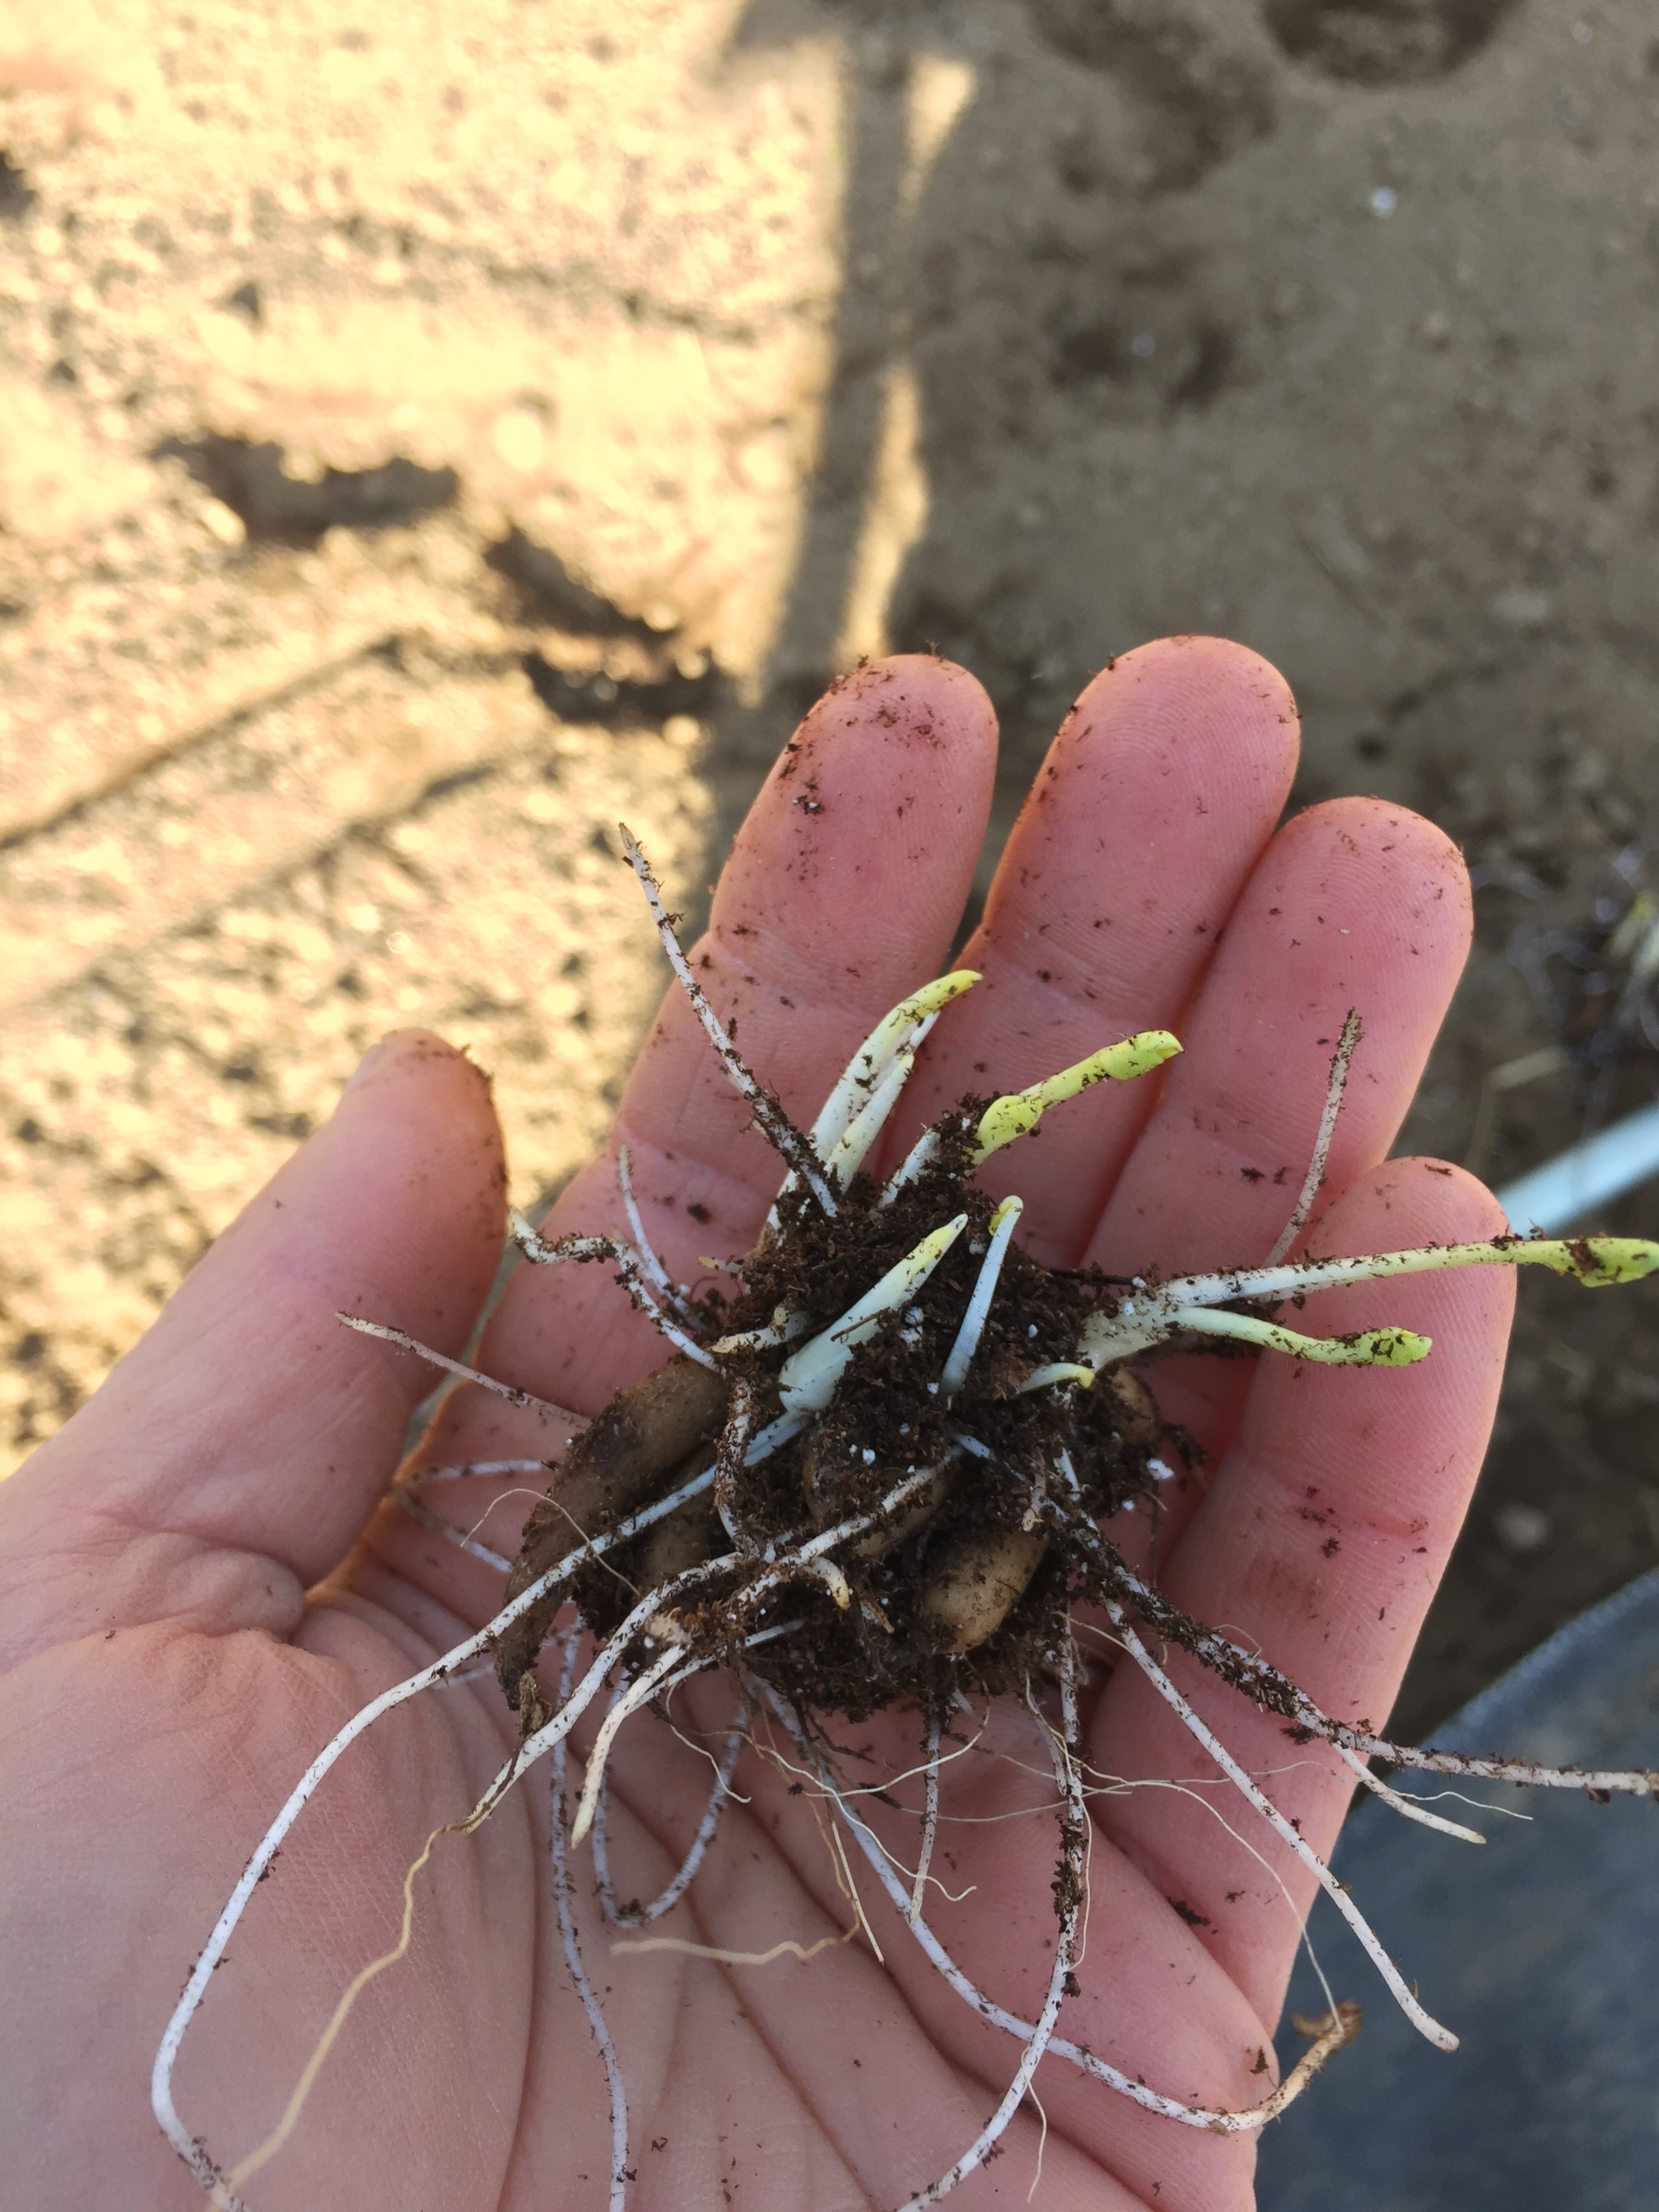
About 10-14 days before I'm ready to plant in the soil, I soak and pre-sprout the corms. I'll usually prepare the planting beds after I've started this process. There are many different ways to pre-sprout your corms and I have had success by keeping it simple. Because ranunculus and anemone are prone to bacterial issues and our climate receives lots of rainfall in the winter, I soak my corms in an organic bacterial fungicide solution. Bacterial fungicide is a concentrated beneficial microorganism that establishes itself on the plants' roots and it can be purchased from most home gardening shops or online. (I also use it to drench all lisianthus plugs before planting and have eliminated fungal issues.) Even though I shy away from using any chemicals, this product is approved for certified organic production and helps protect my large investment in the corms. Root Shield and Actinovate are two brands that I recommend.
I soak ranunculus and anemone corms for about 2-4 hours, until they start to plump up and double in size. After soaking, fill large seed starting trays (the bottom trays without holes, often called 1020’s) with about 2” of seed starting soil. I place each corm into the tray so that the ranunculus “legs “ are facing down and the corms are touching, but not overlapping. Place anemone corms in any direction. Cover with a light dusting of the seed starting soil or vermiculite.
My basement is the perfect spot for pre- sprouting as its about 60 degrees Fahrenheit / 15 degrees Celsius with medium humidity and minimal light. I check the corms every few days to make sure the soil is slightly moist, but not damp. Err on the side of too dry rather than too wet. After about 10 days, the corms grow little white rootlets and they're ready to go. Oftentimes I am so busy during this time that by the time I get around to planting, they have 1/2" white sprouts growing. No need to worry, they continue growing in the soil just fine.
Planting
Although I grow almost everything at the farm in landscape fabric, I do not plant ranunculus or anemone into fabric. I've found that the leaves and blooms of anemone get stuck under the fabric and that the ranunculus do not appreciate the extra heat and moisture retention caused by the fabric. Also, I have more time in the winter and early spring for a few rounds of weeding before the plants mature.
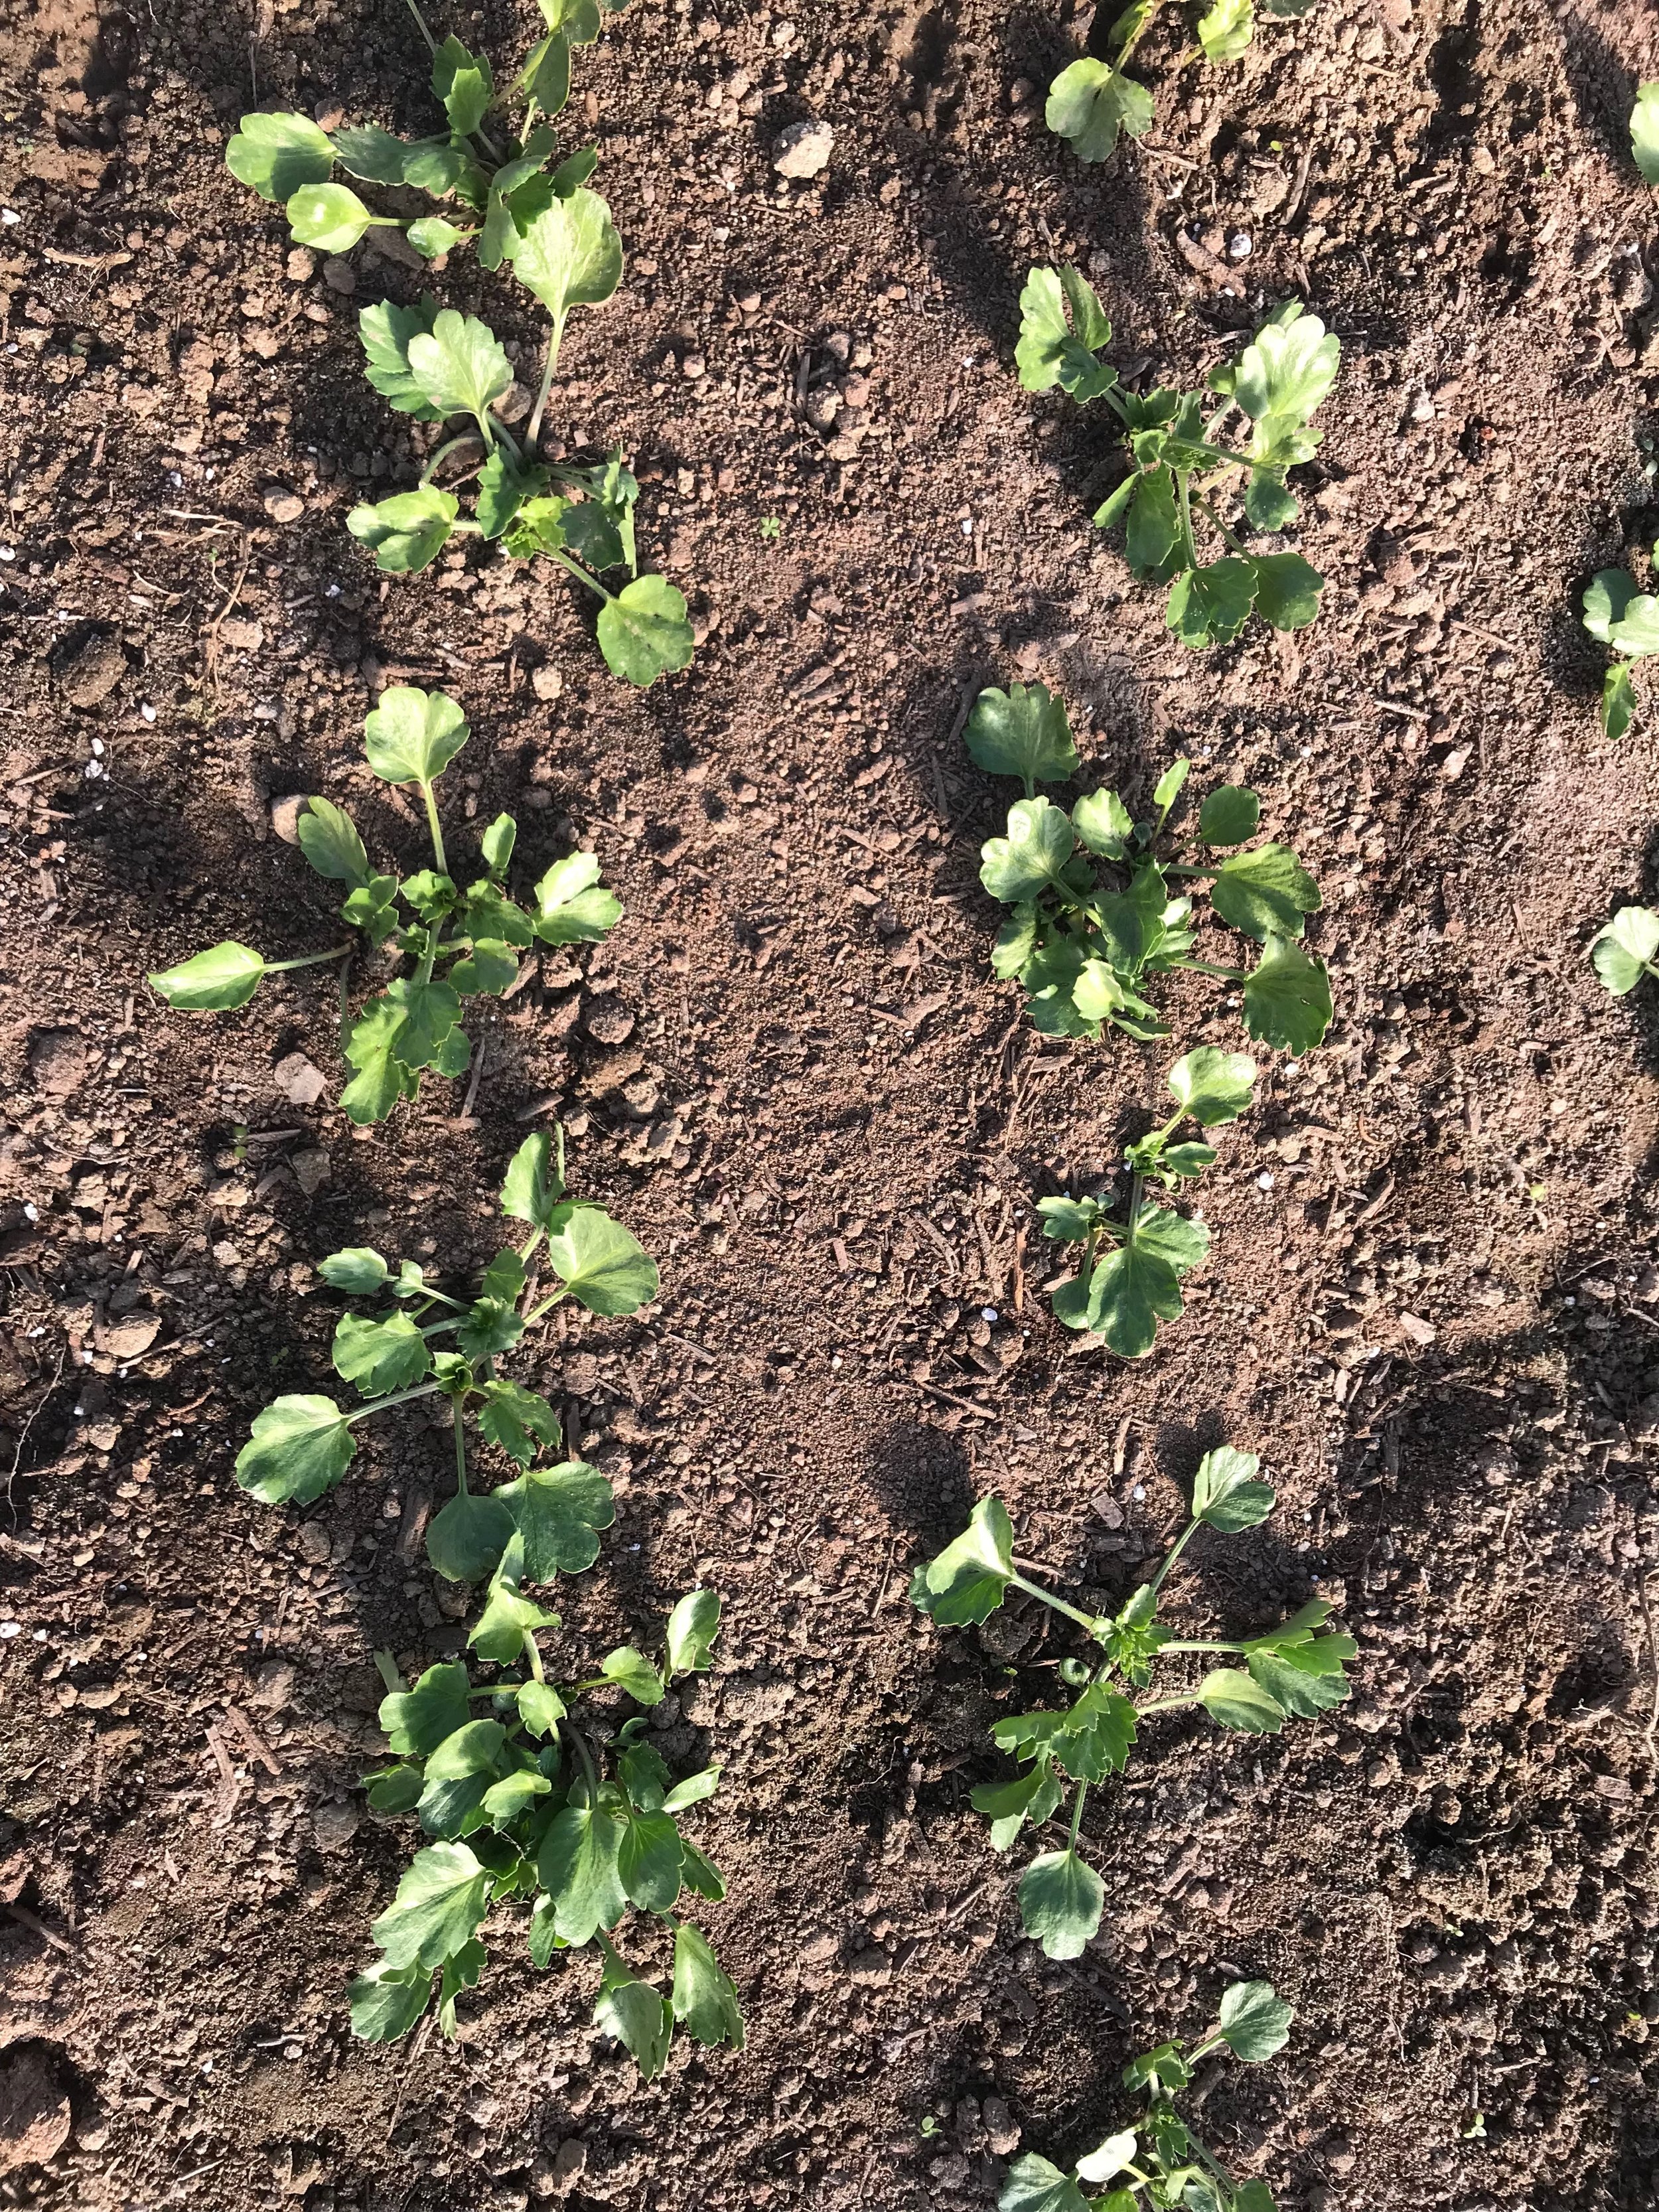
I typically plant 4 rows per bed of ranunculus and 5 of anemone with six-inch6" spacing. I made a super high-tech planting spacer out of a conduit pole and flagging tape. One person uses the spacer to lay the sprouted corms along the rows and another person follows behind planting them about 1-2" deep. My favorite planting tool is also super fancy: a butter knife from Goodwill. It’s amazing how quickly you can plant a few thousand plants using this method!


Depending on how damp the soil already is, I may give it a light spray of water after planting. If planting in a hoop house, I run lines of drip irrigation for occasional watering over the winter and only water when the temperatures will be above freezing the following day and night (you want to avoid freezing the roots). I water more frequently in the spring. Ranunculus and anemone grow quickly and don't require much maintenance throughout the winter except occasional weeding and protection from those super chilly nights.
A few notes about growing BUTTERFLY RANUNCULUS:
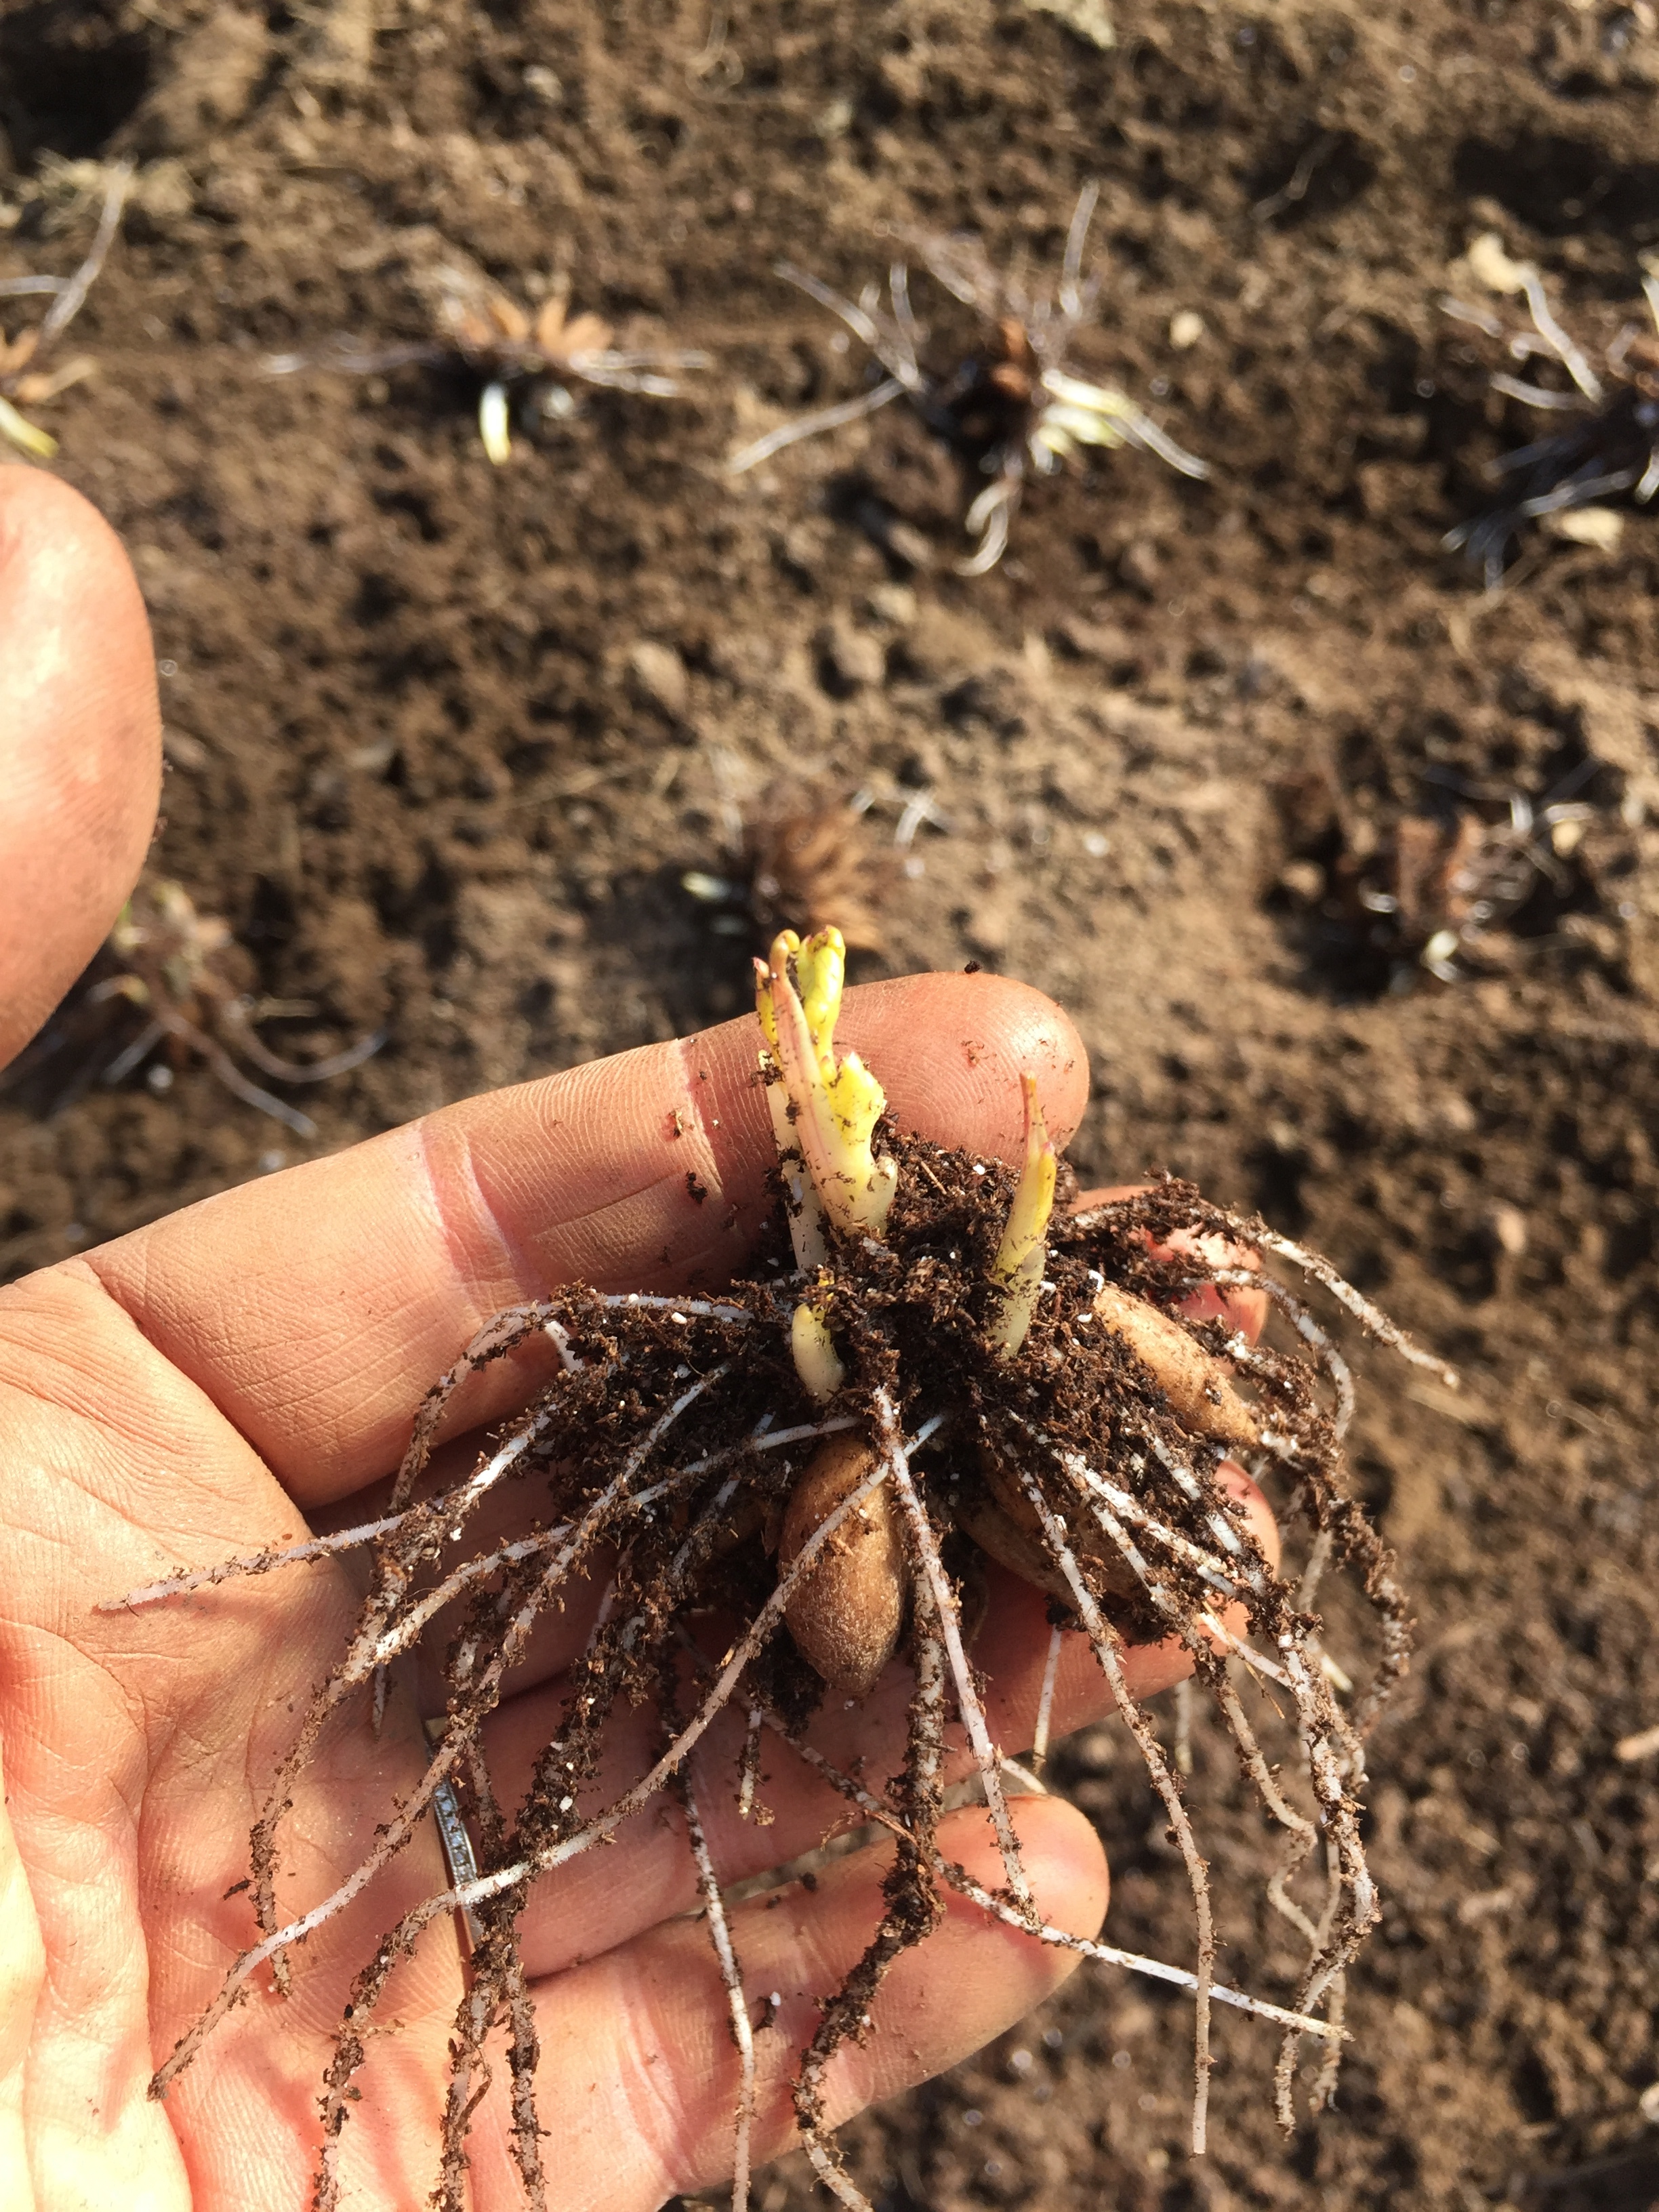
Butterfly ranunculus can be grown similarly to ranunculus, but with a few minor adjustments. Follow the same instructions for soaking and presprouting the corms, but soak for 2-4 hours as the corms tend to plump up more quickly. Because the corms are so much larger in size, you may need to use a deeper tray for presprouting so that the entire corm is covered with soil. Butterfly ranunculus take longer than other ranunculus to begin sprouting, usually 14-20 days, and often a sprout (which can look like a little white nodule at the top of the corm) will appear before rootlets. They are even more susceptible to rot and mold during the presprouting process, so water very conservatively and always check for moisture at the bottom of the tray.
Butterfly ranunculus require to very well-draining soil and will do best with some sort of protection from rain, snow and temperatures below 40 degrees. They are not as hardy as ranunculus and anemone so we only plant them in our unheated high tunnel. Zones 8 and up can plant outside in the fall, but we recommend planting in a tunnel or hoop house for other zones or waiting until the spring (about 6 weeks before your final frost). They tend to require more care and attention, but are absolutely worth the extra time and fuss.
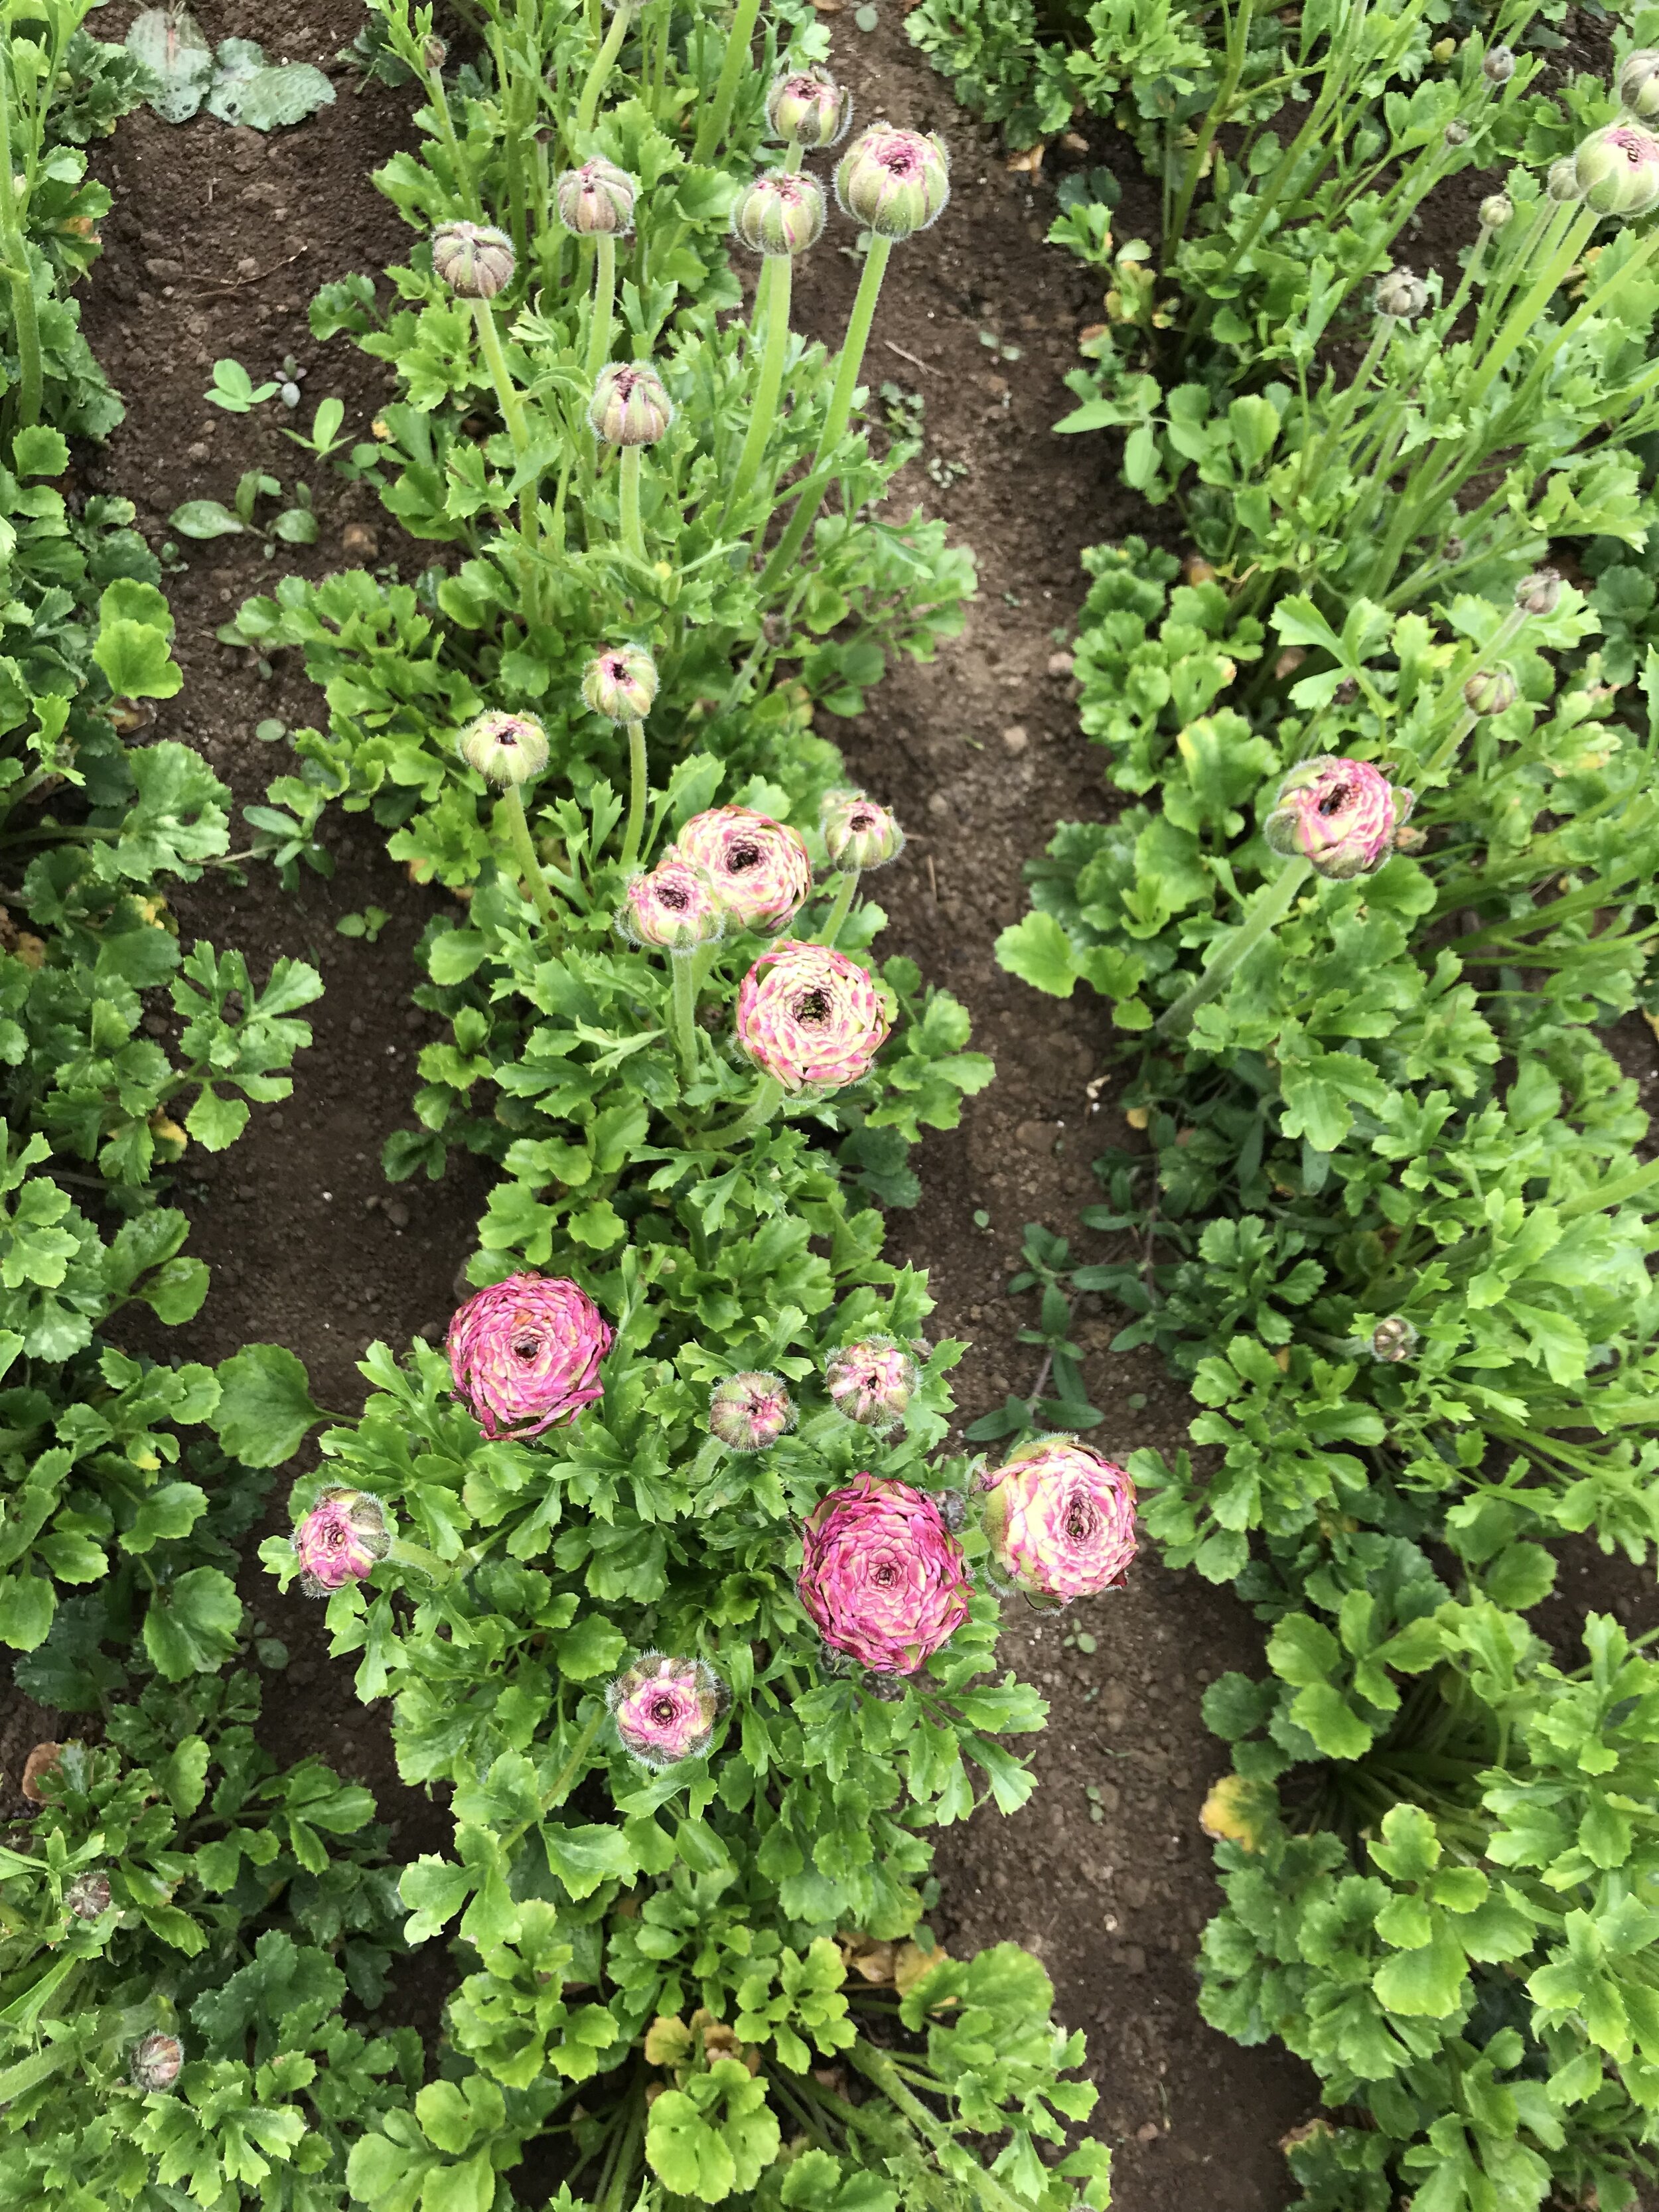
Ranunculus and anemone are some of my all time favorite flowers and so I hope you find lots of success and joy in growing these beauties! You may also want to check out our Tulip and Narcissus Planting Guide.
xoxo Niki