
Last year my youngest son’s 4th birthday request was for a Lightning McQueen Birthday Cake. I knew this was going to be my greatest birthday cake challenge yet.
In particular, I was feeling daunted by all that red icing. The year before the request was for a fire engine cake and the red icing was by far the most difficult aspect of the cake. Using buttercream icing in the warmer months can be quite a challenge. So this time I decided to go with rolled fondant icing instead and try my luck there. Here was the final result…

The first step in building this monumental Lightning McQueen Cake was to bake the cake using my standard birthday cake recipe.This was done in a large rectangular pan so it could be cut to shape.Here’s how it all progressed, step by step.
First job was to cut the slab and start to build the car. To begin with, the cab of the car was added…

Followed by the rear bumper. Some toothpicks were used to help secure this in place…

Some other bits and pieces were then added to give the car its rounded shape in certain places…

The tyres were cut from the remaining cake…

I then covered the whole cake with a plain buttercream icing…


Then it was time to start on the red icing…the moment of truth. The first step was to get the color right. As this was the first time using this type of icing, I know I did it all wrong, but the end results were good. I started by adding the coloring using a skewer dipped into the color…

It was then a case of working the coloring through and adding more as needed. It took quite a lot of color to get the final bright red so I started ‘pouring’ it on…

…and I did need to add some extra icing sugar while working due to the icing becoming quite wet (it was also very humid which didn’t help). Finally the color got there, and so did my hands…

Next step was to roll the icing out….

And then cover the cake car body…

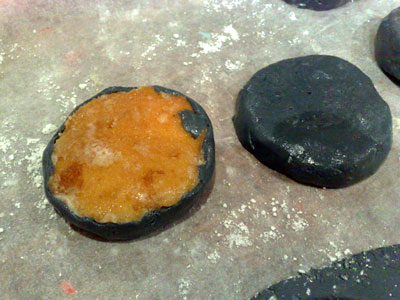
Back to the icing and coloring for the tyres…black this time…yikes! Luckily I didn’t need much.

Then it was just a matter of filling in all the other details on the car using different colored icing. The eyes and mouth…

Then the rest (I did use a color print out for the logos – just too fiddly)…

Time to put the Lightning McQueen Birthday Cake on the road which was made from black icing as well. Here’s the final result, and my little boy Stewart was delighted.

Phew, looking back that was some cake. I hope you get some inspiration and ideas from this, big or small, for your own children’s birthday cakes.
If you have any comments or questions on my Lightning McQueen Birthday Cake, please leave them below.
Worried about getting your own 3D car cake just right?
Download my step-by-step guide and printable templates for perfect results. It contains all you need to build a spectacular Lightning McQueen cake or any other 3D car cake.


