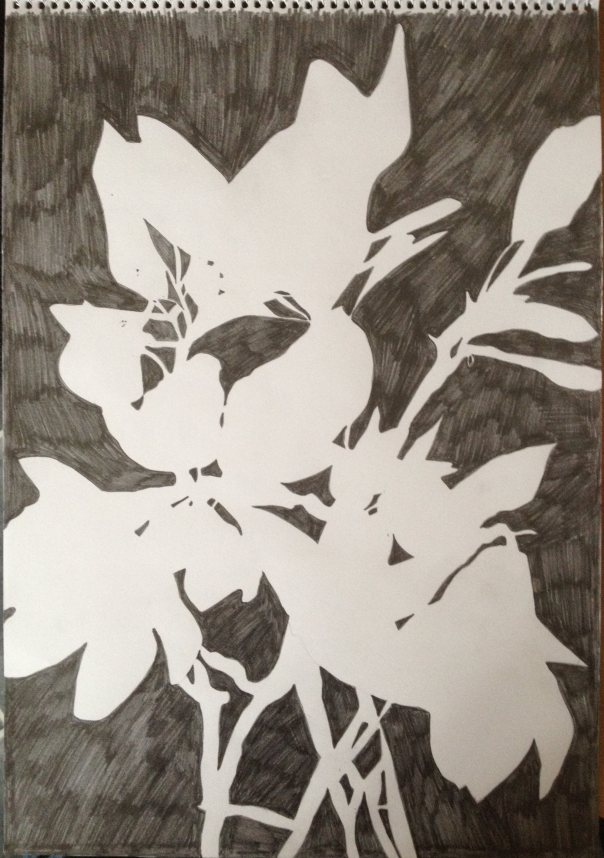
I admit, I cheated a little here; the course book suggested I use a large potted plant, but due to financial constraints at the moment, I instead made use of what was around me. I ventured into the garden and found some trimmings underneath my magnolia tree, some small, flowering branches. I was careful to pick some bare branches/twigs as well as ones with flowers still attached, to offer a varied silhouette.
The pieces of magnolia tree were slotted into a tall glass vase, but in this instance I decided to crop it out and concentrate solely on the leaves, flowers and twigs. I selected a 3B pencil and rather than plan carefully where I would start to draw on my A3 paper, I leapt straight in with spontaneity, beginning with the dip in the middle of the flower silhouette at the very top of the page. I worked my way out from here, measuring each negative space up with another nearby so as to place it in the right position. I noticed my pencil getting blunt rather quick so had to sharpen quite often to retain the crisp, sharp edges of the negative spaces.
I worked from the middle at the top, then clockwise down and around the rest of the composition before going over the central mass and adding the smaller, more concentrated spaces. The exercise took around an hour and a half in one sitting, and I found it utterly therapeutic as I filled in the negative spaces with a layer of soft pencil and witnessed the object emerging. I enjoyed this exercise so much, in fact, that I have convinced myself I must produce a whole series of drawings/paintings based on it. Time permitting, of course…
