Still Life: Value with Form & Shading
Negative Space Drawing Exercise
It might seems strange, but the best way to “see” and then draw a form, is to “see” the space around it. This is called Negative Space.
Assignment #1: A copy of this sketchbook exercise page will be provided by your teacher or you can print it. Follow the page instructions and draw on this page. Glue it into your sketchbook when you are done.

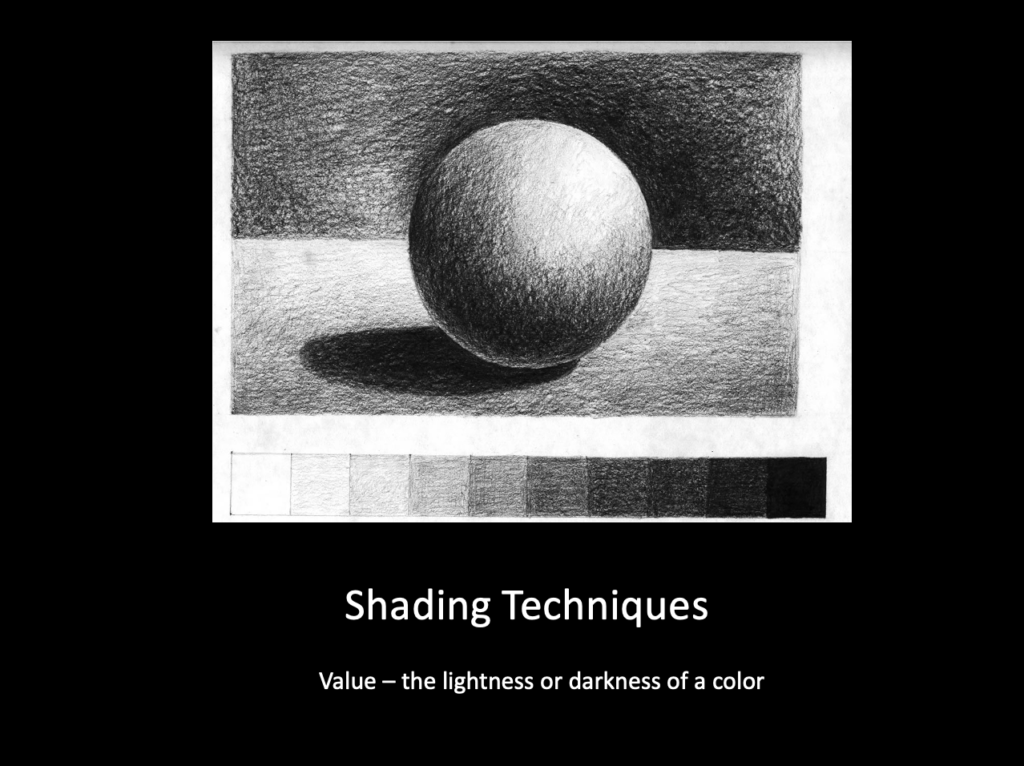
Assignment #2: Review the Form & Value, Shading Techniques Powerpoint by Ms. Montgomery below. Take text and drawing notes on a page or two of your sketchbook. Record important vocabulary words + drawing and text notes to show your understanding. You must have 6-8 complete ideas noted on a page of your sketchbook to receive full credit.
Assignment #3:
First create a paper viewfinder by measuring a centered hole 3″h x 4″w. Make a mark every 1″ on each side.
From your seat, take some time to “sight” different compositions from the still life on your table. You may move your seat a little left or right, but be mindful of other people’s spaces. You MAY NOT move anything! As the artist, you can ignore/eliminate some objects from your composition. BUT you cannot ignore/eliminate objects that are in front and blocking more than 3/4 of an object behind. Your composition must have 4-6 objects. Circle the composition thumbnail that you want to draw for your final.
Click here for details on making a viewfinder.
SKETCH 3 THUMBNAIL COMPOSITION DRAWINGS on one page of your sketchbook. Submit 2 images: one photo of your sketchbook page with 3 thumbnails AND one photo of the still life arrangement from where you were sitting to draw.
Assignment #4:
Final Still Life Drawing (Part 1 – line & form)
1. Begin your final still life only drawing AFTER you receive teacher approval of your selected composition from your thumbnails.
2. On a clean 9×12″ paper, begin to lightly sketch in the lines of your objects, looking carefully at the negative spaces around and between objects. DO NOT begin to add details of any single object until you have lightly sketched in the major shapes of ALL OBJECTS.
3. DO NOT begin SHADING yet! We will learn a little more about value, shading and form before you move on to that step.
Final Still Life Drawing (Part 2 – value & form)
Review Shading Forms video
1. Decide the location of your light source. Because our room is lit from every angle, you must “make up” the angle of the light source for your drawing based on what you have learned about light and shadow. Decide now if your light source coming from the top left or top right of your paper.
2. Begin shading. Remember, light shines in a straight line from the source. The darkest values will be farthest from your light source. The lightest values (highlights) will be closest to your light source. You must show blended or gradual value changes from light to dark.
A note about cast shadows: We have all seen our shadow cast on the ground on a sunny day. Shadows are cast on surfaces on the other side of the light source. HOWEVER, if an object is blocking the shadow, you might not be able to see it. Don’t worry too much about cast shadows in this drawing. Your goal is shading objects to model three-dimensional form.
